Dive into the World of Arduino: Easy Projects for Beginners
Want to start creating with Arduino, but feeling overwhelmed? This listicle presents 10 engaging Arduino project ideas perfect for beginners. You'll learn fundamental Arduino concepts, from basic circuitry and coding to working with sensors and output devices. Each project includes required materials, setup steps, and key learning outcomes.
This curated list offers a practical, hands-on approach to learning Arduino. Whether you're a student, hobbyist, or aspiring maker, these projects will empower you to bring your ideas to life. We'll cover a range of applications, including:
- Controlling LEDs: Explore basic digital output and create interactive lighting projects.
- Monitoring the environment: Build a temperature and humidity monitor using sensors.
- Responding to user input: Learn how to use buttons and sensors to trigger actions.
- Creating simple automation: Design a basic alarm system or a traffic light simulator.
- Generating sound and movement: Experiment with buzzers and servo motors.
This isn't just a collection of projects; it's a pathway to mastering the basics of physical computing with Arduino. Skip the complex theory and dive straight into building. By the end of this list, you'll have the skills and confidence to tackle more advanced Arduino projects and unleash your creativity. Let's get started with some exciting arduino project ideas for beginners!
1. LED Blink Circuit
The LED Blink Circuit is the quintessential first project for any aspiring Arduino enthusiast. This "Hello World" of hardware programming introduces fundamental concepts like digital output control and basic circuit building. By connecting an LED to your Arduino and programming it to blink, you begin to understand the tangible connection between software instructions and physical reactions. This project lays the groundwork for more complex Arduino projects.
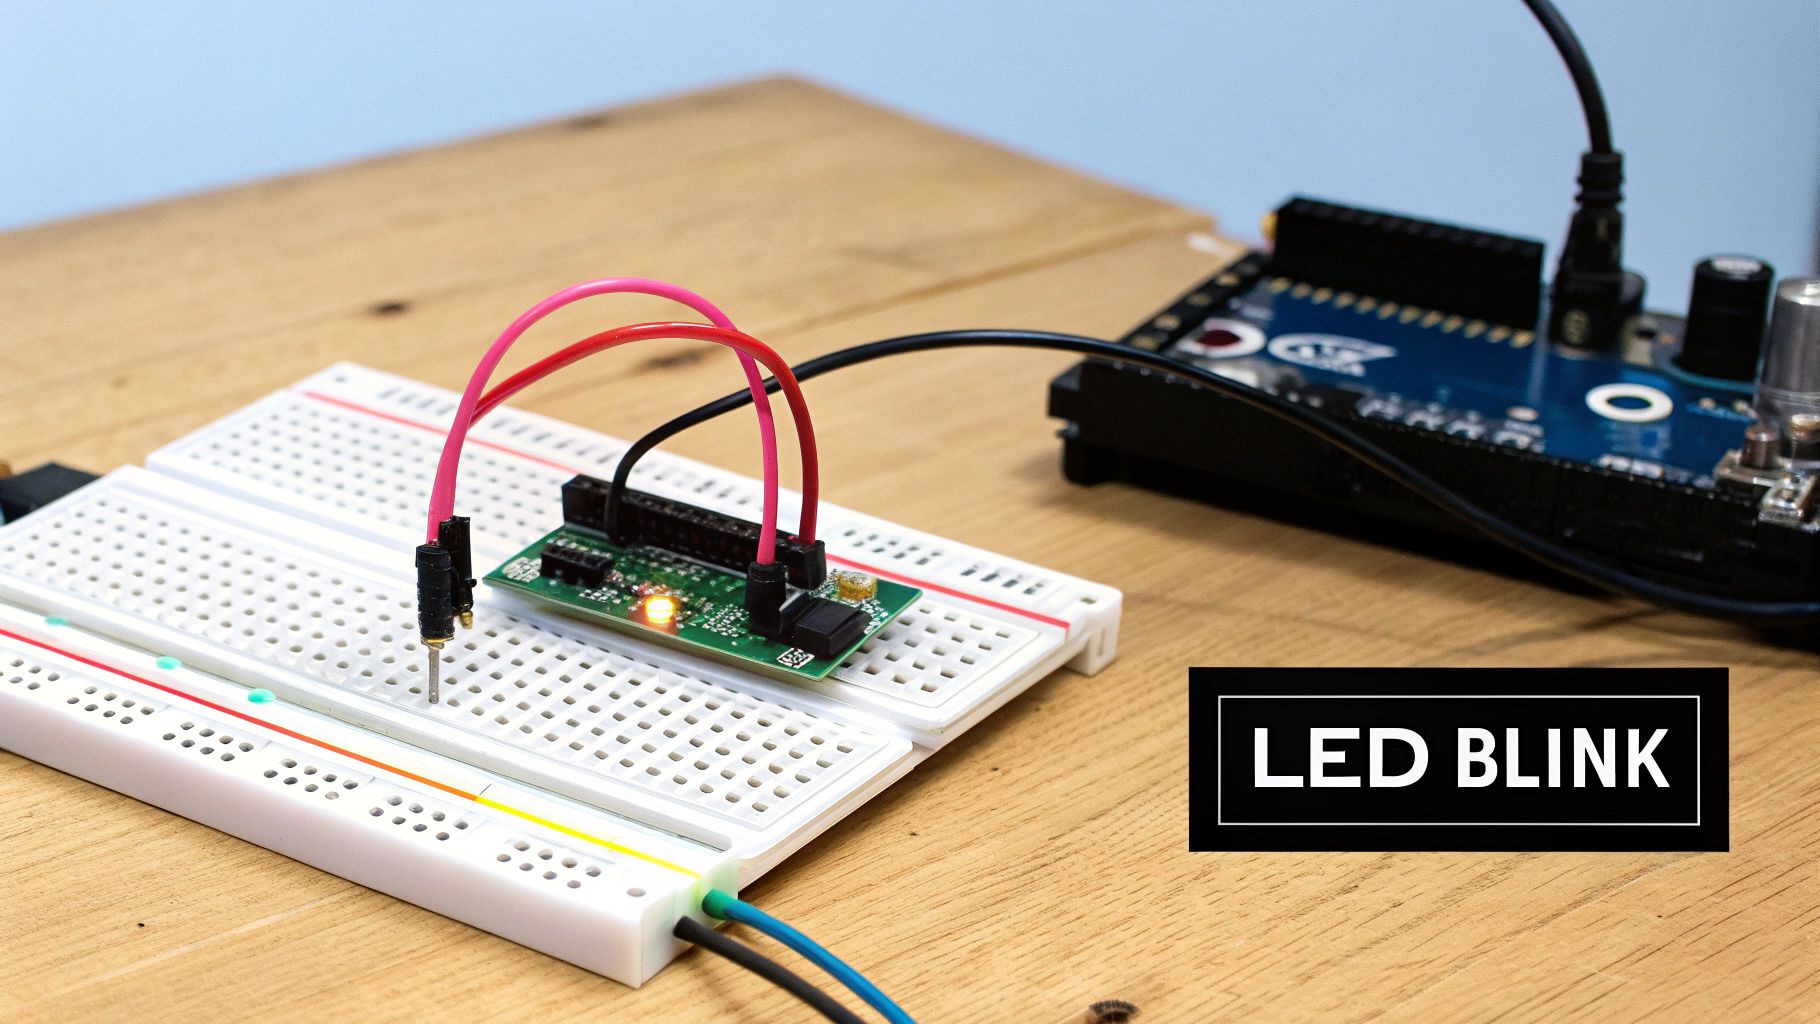
This seemingly simple project provides a practical introduction to the Arduino IDE, the software used to write and upload code to the board. You'll learn to write code that controls the digital pins, turning them on and off to make the LED blink. This hands-on experience solidifies the relationship between hardware and software, a crucial aspect of microcontroller programming.
Examples and Resources
Several excellent resources guide you through this foundational project:
- Arduino.cc official tutorials
- SparkFun Inventor's Kit first project
- Adafruit learning system basics
These tutorials offer step-by-step instructions and clear explanations, making it easy for beginners to follow along.
Tips for Success
- Start Simple: Begin with the built-in LED on pin 13 of the Arduino Uno. This eliminates potential wiring errors early on.
- Experiment with Timing: Vary the
delay()function in your code to control the blink rate. Explore different patterns and rhythms. - Expand Your Circuit: Add more LEDs and control them individually to create exciting light sequences.
- Troubleshooting Reference: The LED blink circuit serves as an excellent troubleshooting tool for more complex projects. If you encounter issues later, revisiting this simple circuit can help isolate problems.
- Breadboard Practice: Use a breadboard to connect your circuit. This provides a flexible and error-free way to prototype.
The LED Blink Circuit deserves its place at the beginning of any Arduino journey. It's a simple yet powerful project that teaches essential skills and provides a solid foundation for exploring the exciting world of Arduino. This foundational knowledge empowers you to move forward with confidence to more complex and rewarding projects.
2. Temperature and Humidity Monitor
The Temperature and Humidity Monitor is a practical Arduino project that introduces beginners to the world of sensor interfacing. By using a DHT11 or DHT22 sensor, you can read environmental data and display it on the Serial Monitor or an LCD screen. This project provides a foundational understanding of how to gather data from the physical world and process it within your Arduino code. It's a stepping stone toward building more complex projects involving environmental monitoring and data logging.
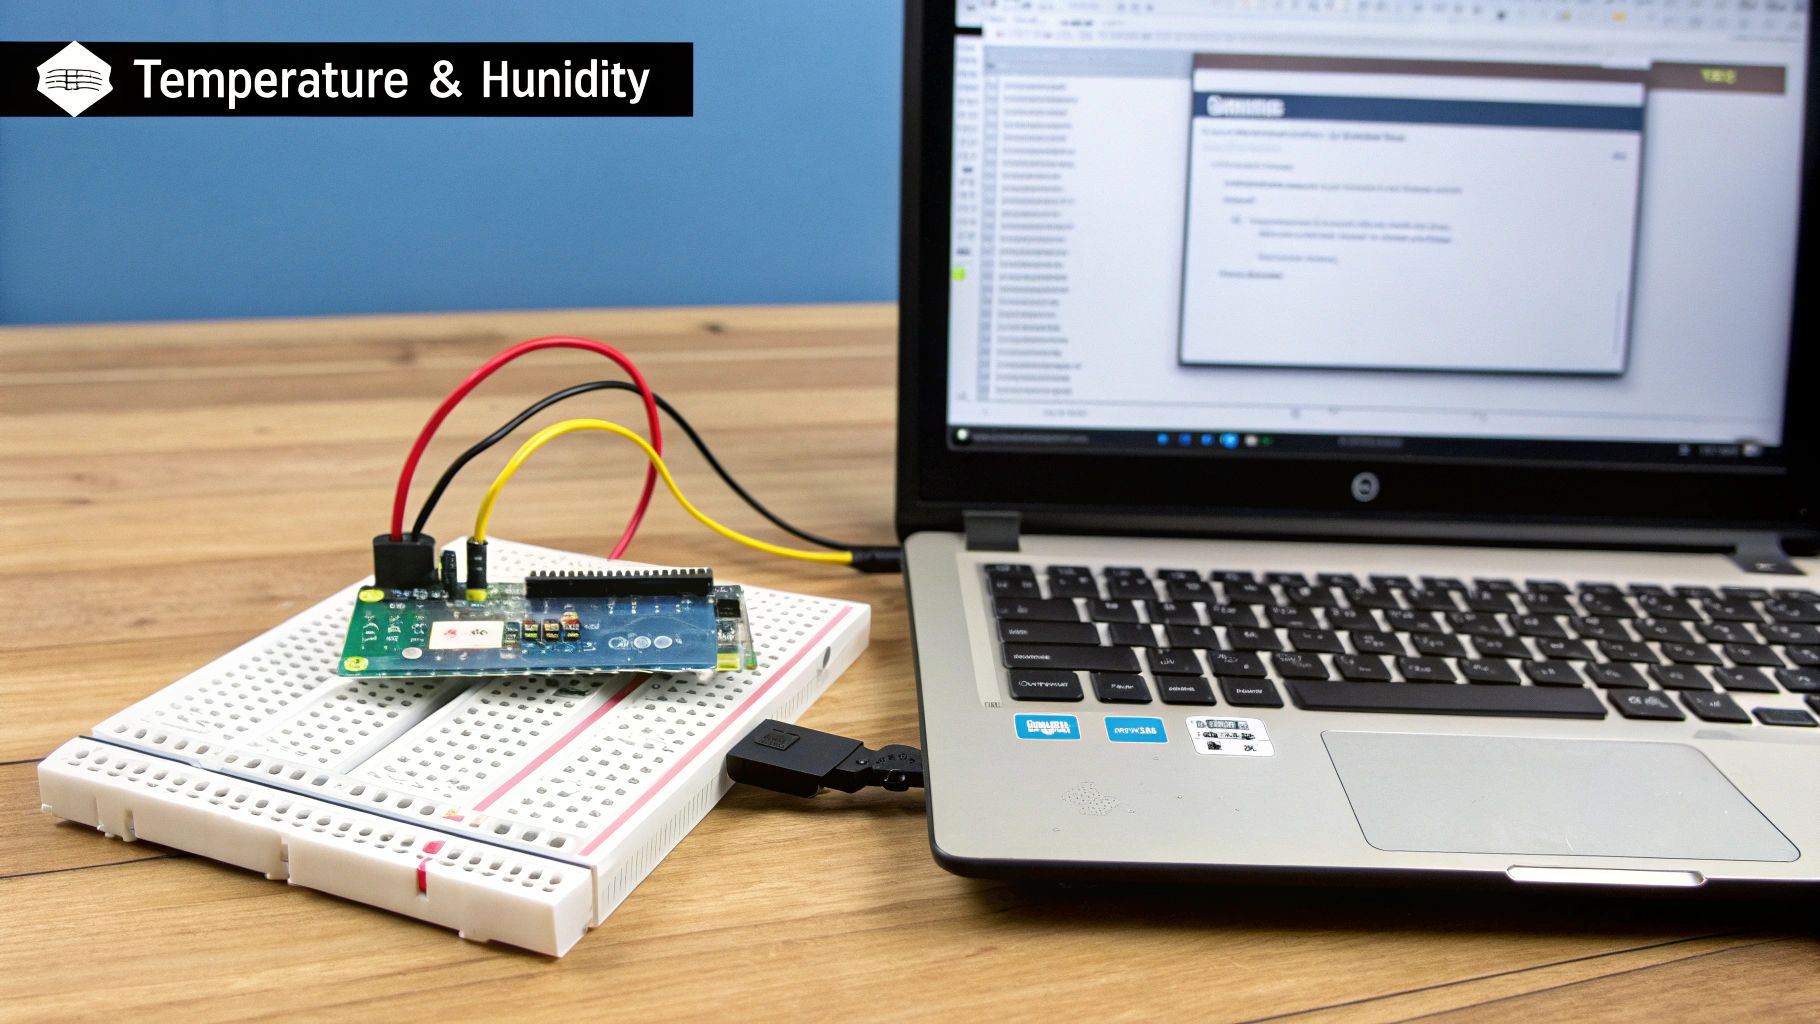
This project helps beginners grasp essential concepts like analog-to-digital conversion (for the DHT11) and digital data transmission (for the DHT22). You'll learn how to connect sensors to your Arduino, read their output, and display the data in a meaningful way. This project opens doors to various applications, from simple weather stations to more advanced smart home systems.
Examples and Resources
The Temperature and Humidity Monitor has widespread applications:
- Home weather stations
- Greenhouse monitoring
- HVAC control systems
- Indoor air quality monitors
Learn more about… Temperature and Humidity Monitor projects and resources.
Tips for Success
- Sensor Selection: Use the DHT22 for higher accuracy compared to the DHT11.
- Stable Readings: Add a 10kΩ pull-up resistor between the data pin and the power pin for more reliable data acquisition.
- Error Handling: Implement error checking in your code to handle potential sensor failures gracefully.
- Data Logging: Consider expanding the project to log data to an SD card for long-term monitoring.
- Reading Frequency: Implement appropriate delays between readings to avoid overwhelming the sensor.
The Temperature and Humidity Monitor project offers a valuable learning experience for beginners. It introduces key concepts in sensor interfacing, data processing, and real-world applications. This project empowers you to build practical and useful devices while solidifying your understanding of Arduino programming. This knowledge will serve as a strong base for future projects that interact with the physical environment.
3. Ultrasonic Distance Sensor
The Ultrasonic Distance Sensor, commonly the HC-SR04, is a fantastic component for beginners to explore the world of sensor integration with Arduino. This project introduces the concept of using sound waves to measure distance, a principle employed in various real-world applications. By sending out ultrasonic pulses and measuring the time it takes for the echo to return, the sensor calculates the distance to an object. This project opens doors to understanding sensor interfacing and data processing.
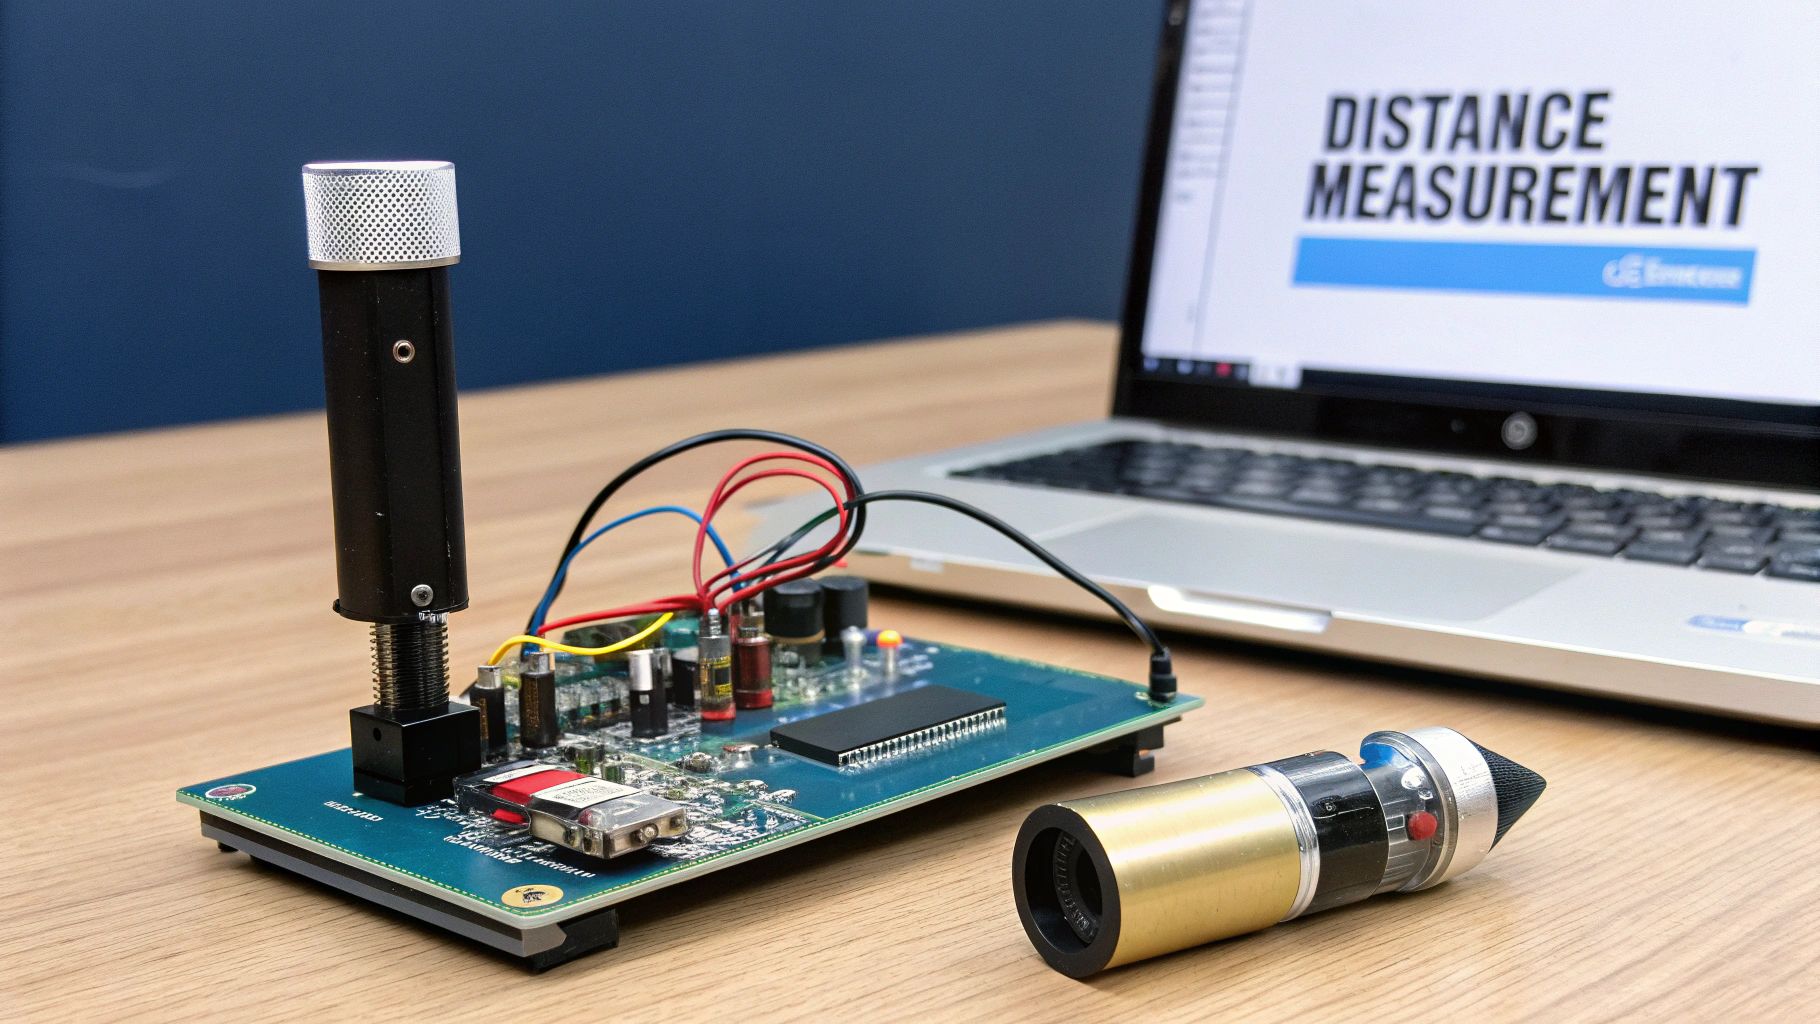
This project provides a practical introduction to timing functions within the Arduino IDE. You will learn how to precisely control timing to send and receive ultrasonic pulses, which is crucial for accurate distance measurement. Processing the returned data allows you to display the measured distance, providing a tangible outcome of your coding efforts. Learn more about Ultrasonic Distance Sensor.
Examples and Resources
The ultrasonic sensor's versatility is showcased through examples like:
- Robot obstacle avoidance systems
- Parking sensors
- Water level monitoring
Numerous online tutorials and project guides provide comprehensive instructions for implementing these applications, offering valuable resources for beginners.
Tips for Success
- Mount Carefully: Mount the sensor away from surfaces that might interfere with the ultrasonic waves.
- Averaging for Stability: Use averaging techniques to obtain more stable and reliable distance readings.
- Temperature Matters: Consider temperature compensation for improved accuracy, especially in varying environments.
- Surface Considerations: Test the sensor with different surface materials to understand how they affect readings.
- Visual Feedback: Add LED indicators to provide visual feedback based on the measured distance.
The Ultrasonic Distance Sensor project bridges the gap between software and the physical world. This engaging arduino project idea for beginners teaches essential skills applicable to robotics, automation, and numerous other fields. This hands-on experience with sensor integration opens up a world of possibilities for future projects.
4. Push Button Controlled LED
The Push Button Controlled LED project elevates basic Arduino skills by introducing digital input. This interactive project demonstrates how to use a push button to control the state of an LED, teaching fundamental input handling, debouncing techniques, and basic user interface concepts. This project builds upon the LED Blink Circuit, adding an element of user interaction that is essential for many Arduino projects.
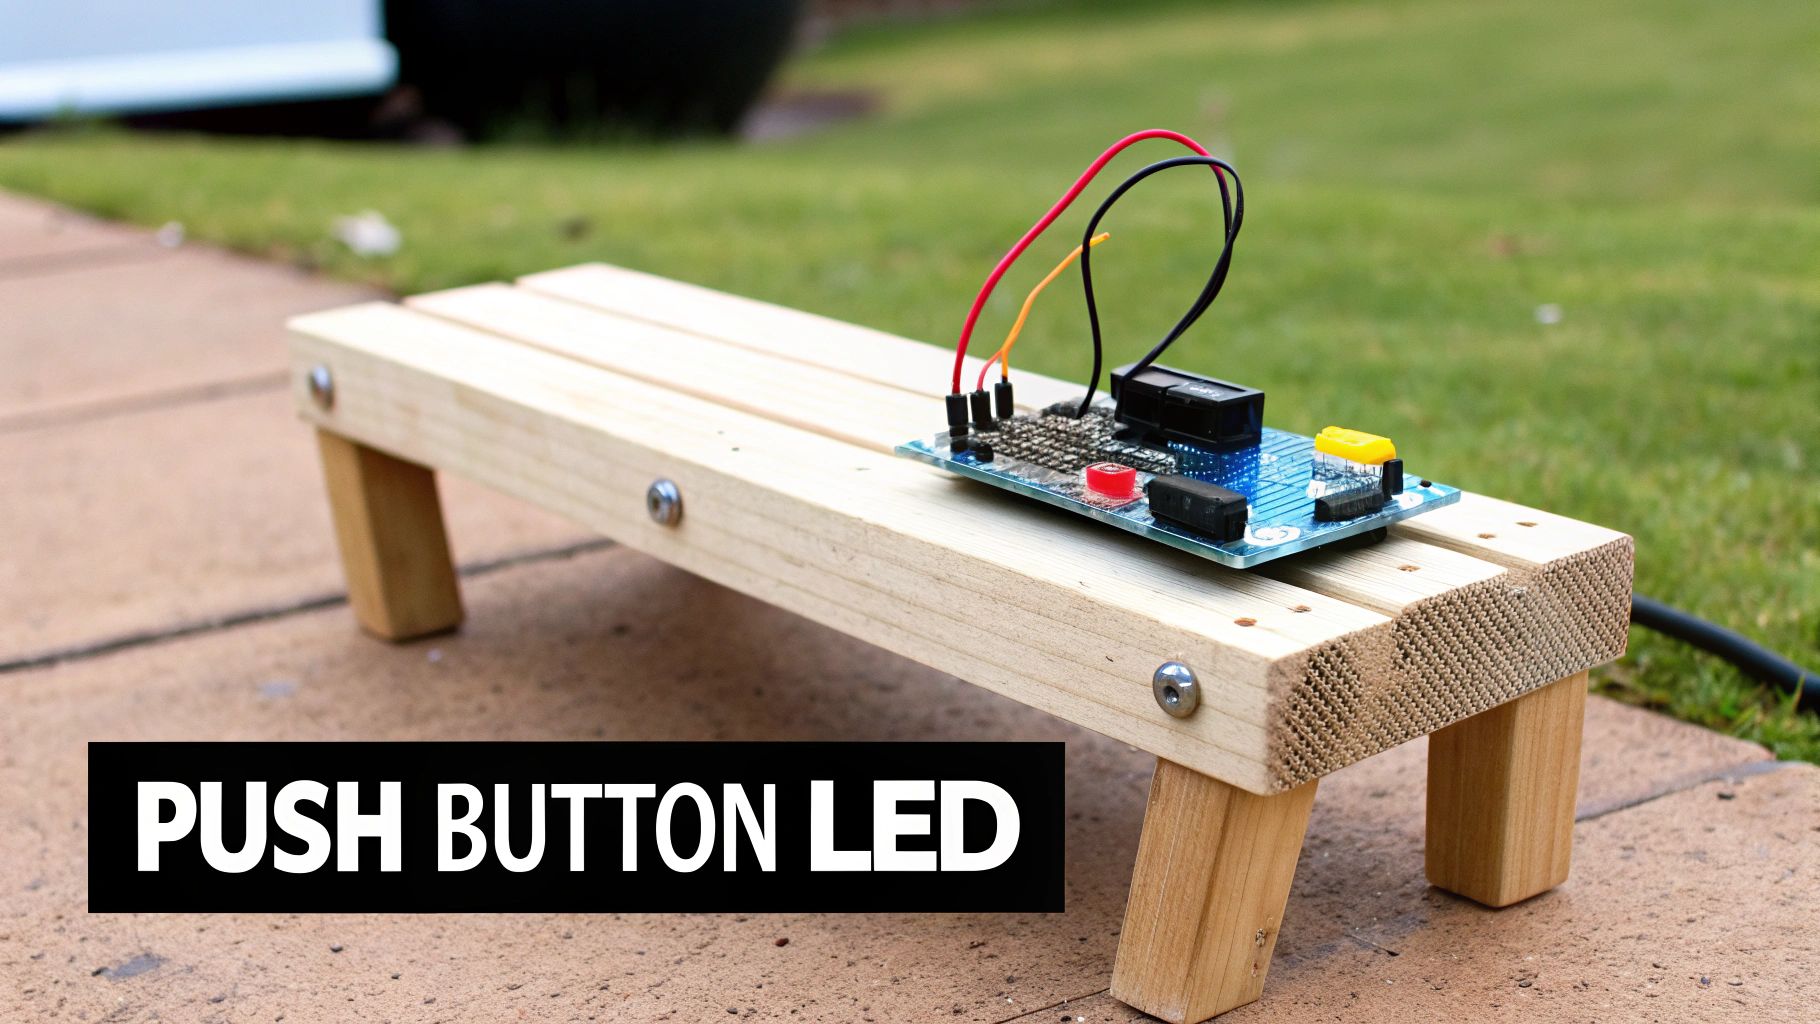
This project provides practical experience with reading digital inputs and responding accordingly. You'll learn how to write code that detects a button press and triggers an action, like turning an LED on or off. Mastering this interaction opens up a world of possibilities for creating interactive devices. This project forms the basis for more complex interactive systems, from simple control panels to game controllers, industrial control systems, home automation switches, and interactive art installations.
Examples and Resources
Many resources provide guidance for this interactive project:
- Arduino project hub examples
- Instructables tutorials
- Online electronics forums
These resources offer diverse perspectives and approaches, helping beginners grasp the concepts effectively.
Tips for Success
- Internal Pull-up Resistors: Simplify wiring by using the internal pull-up resistors on the Arduino.
- Software Debouncing: Implement software debouncing to ensure reliable button press detection and eliminate spurious readings.
- Button Press Patterns: Experiment with different button press patterns, such as single presses, double presses, and long presses, to create varied interactions.
- Multiple Buttons: Add more buttons and program different actions for each, building towards more complex control schemes.
- Interrupt-Driven Input: Explore using interrupts for highly responsive input handling, allowing the Arduino to react to button presses without delaying other tasks.
The Push Button Controlled LED project is a crucial stepping stone for aspiring Arduino enthusiasts. This foundational project provides a practical understanding of input handling and interaction, laying the groundwork for designing more complex and engaging Arduino projects. This empowers you to build projects that respond to user input, opening up a new dimension of creativity and functionality.
5. Light-Controlled LED (LDR Sensor)
The Light-Controlled LED project introduces the fascinating world of analog sensors with the Light Dependent Resistor (LDR). This component changes its resistance based on the amount of light falling on it. By connecting an LDR to your Arduino, you can create a circuit that responds dynamically to ambient light levels. This project provides a practical understanding of analog input, threshold-based logic, and automatic control systems. It’s a perfect starting point for building responsive and automated projects.
This simple yet powerful project teaches you to read analog values using the analogRead() function. You'll learn to convert these readings into meaningful data and use them to control the brightness of an LED. This project lays the groundwork for more complex sensor integration, a cornerstone of many Arduino projects.
Examples and Resources
Numerous applications showcase the versatility of LDRs:
- Automatic street lighting
- Garden solar lights
- Security lighting systems
- Smart home lighting controls
- Photography light meters
Many online tutorials and project guides offer detailed instructions for building your own light-controlled LED circuit.
Tips for Success
- Voltage Divider: Use a voltage divider circuit with a 10kΩ resistor to get a stable and usable voltage reading from the LDR.
- Calibration: Calibrate the threshold values in your code to suit your specific environment and desired light sensitivity.
- Hysteresis: Implement hysteresis to prevent flickering around the threshold point by adding a small buffer zone.
- Smoothing: Consider using analogRead() averaging or other smoothing techniques to reduce noise and fluctuations in the readings.
- Testing: Test your circuit in various lighting conditions to ensure reliable and consistent performance.
The Light-Controlled LED project is a valuable stepping stone for beginners. It demonstrates the power of sensors to create interactive and automated systems, providing a solid foundation for exploring more advanced Arduino projects. This project empowers you to build projects that react intelligently to their surroundings.
6. Simple Alarm System
The Simple Alarm System project is a fantastic way for beginners to explore the world of sensor integration and output control using Arduino. This project combines a Passive Infrared (PIR) motion sensor with a buzzer and LEDs to create a functional alarm system. By detecting motion and triggering an audible and visual alarm, this project introduces practical applications of Arduino in security and monitoring systems. This builds upon basic digital input/output principles and adds another layer of complexity with state management.
This project teaches system integration, bringing together multiple components to work in concert. You will learn how to read data from the PIR sensor, process it within your Arduino code, and control the buzzer and LEDs accordingly. You'll gain valuable experience managing system states, such as "armed" and "disarmed," and learn to trigger actions based on changing conditions.
Examples and Resources
This basic alarm system serves as a starting point for various applications:
- Home Security: A basic intrusion detection system.
- Workshop Protection: Monitoring for unauthorized access.
- Pet Monitoring: Detecting pet movement in specific areas.
Numerous online tutorials and project guides offer step-by-step instructions for building a simple alarm system with Arduino.
Tips for Success
- Warm-up Time: Allow the PIR sensor a brief warm-up period after powering on for accurate readings.
- Arming Delay: Incorporate a delay after arming the system, allowing time to exit the monitored area.
- LED Patterns: Utilize different LED blinking patterns to indicate various system states (armed, triggered, etc.).
- Reset Button: Include a reset button to disarm the system after an alarm is triggered.
- Sensor Positioning: Experiment with different sensor placements for optimal detection range and sensitivity.
The Simple Alarm System project bridges the gap between basic Arduino projects and real-world applications. It reinforces fundamental programming skills while introducing practical security concepts and system integration. This foundational project opens doors to more complex Arduino projects involving sensors, actuators, and real-world interactions. This project is a great way to build confidence and explore the exciting world of embedded systems.
7. Digital Thermometer with LCD
The Digital Thermometer with LCD project is a practical and engaging Arduino project for beginners. This project combines the accuracy of a digital temperature sensor with the clear visual output of an LCD screen. By building this project, you learn how to interface with both sensors and displays—essential skills for numerous Arduino projects. You'll use a DS18B20 digital temperature sensor, renowned for its precision, and a common 16×2 LCD display to show the measured temperature. This creates a functional and informative device.
(Image not available)
This project introduces the one-wire communication protocol used by the DS18B20 sensor, allowing you to collect accurate temperature data. You'll also learn to control an LCD, displaying text and numerical data dynamically. The combination of these components creates a versatile project applicable to various real-world scenarios. It showcases how Arduino can bridge the physical world of sensors with user-friendly digital displays.
Examples and Resources
Many resources can assist you in constructing this project:
- Arduino playground DS18B20 tutorials
- LCD interfacing guides on various Arduino forums
- Example projects showcasing temperature logging and display
These resources offer various approaches and code examples to enhance your learning experience.
Tips for Success
- Stable Readings: Utilize a 4.7kΩ pull-up resistor on the DS18B20 data line for reliable sensor communication. This ensures clear and consistent data transmission.
- Streamlined Connections: Employ I2C LCD modules to reduce the number of pins required, simplifying your wiring. This optimization makes the project more manageable for beginners.
- Enhanced Functionality: Extend the project by adding temperature logging to an SD card or implementing min/max temperature tracking. These additions provide valuable data analysis capabilities.
- Sensor Accuracy: Incorporate appropriate delays in your code to allow the sensor enough time to take accurate readings. This ensures the reliability of your temperature data.
- Real-World Applications: Adapt this project to specific needs, such as building a digital thermostat or monitoring aquarium temperature. This practicality reinforces learning and inspires further exploration.
The Digital Thermometer with LCD project provides valuable hands-on experience with sensors and displays. This foundational knowledge equips you to tackle more complex Arduino projects and opens doors to diverse applications in monitoring and control systems. This rewarding project solidifies your understanding of key Arduino concepts and encourages continued exploration in the exciting world of microcontrollers.
8. Traffic Light Simulator
The Traffic Light Simulator project offers beginners a practical introduction to fundamental programming concepts like timing control, state machines, and sequential logic. By simulating a traffic intersection with LEDs representing the red, yellow, and green lights, you'll gain valuable experience controlling the timing and sequence of these lights. This project reinforces the power of Arduino to control real-world systems.
This project provides a tangible example of how software can interact with the physical world. You'll learn to use the millis() function for accurate timing, essential for controlling the duration of each light state. The project naturally introduces the concept of state machines, a core programming paradigm for managing complex systems. This project builds upon the basic LED control learned in earlier projects and introduces more sophisticated programming techniques.
Examples and Resources
Many resources and examples can help you build your own Traffic Light Simulator:
- Instructables tutorials on traffic light projects
- Online Arduino forums with code examples
- Educational electronics kits with traffic light modules
These resources offer various approaches and complexities, allowing you to choose a project that fits your skill level.
Tips for Success
- Start Simple: Begin with a single intersection with basic red, yellow, and green light sequences.
- Use Arrays: Manage multiple LEDs efficiently by storing their pin numbers in an array. This simplifies code and makes it easier to expand your project.
- Realistic Timing: Implement timing intervals that mimic real-world traffic lights for added realism.
- Interactive Elements: Add pedestrian crossing buttons to introduce interactivity and further explore input control.
- Expand Your System: Consider using shift registers to control a larger number of LEDs if you want to simulate a more complex intersection or multiple intersections.
The Traffic Light Simulator project is an engaging and educational Arduino project idea for beginners. It builds upon basic concepts while introducing more advanced programming techniques. This practical application of coding principles solidifies your understanding and opens doors to more complex and rewarding Arduino projects.
9. Servo Motor Control
Servo Motor Control is a fundamental project for beginners venturing into robotics and automation with Arduino. Servo motors, unlike regular motors, allow for precise control of angular position. This project introduces the concept of Pulse Width Modulation (PWM) signals, used by the Arduino to dictate the servo's position. By controlling a servo, you learn how to translate software commands into precise mechanical movement. This skill is essential for projects requiring specific positioning, from robotic arms to automated devices.
This project provides a practical understanding of how software interacts with physical components to create dynamic systems. You'll learn to use the Arduino Servo library, simplifying the code required to control the servo motor. Experimenting with different positions and speeds provides valuable insight into the relationship between code and mechanical action. You can even learn more about servo motor control with resources available online, such as those found on VS Code.
Examples and Resources
- Robot Arm Joints: Control individual servo motors to create a multi-jointed robot arm.
- Camera Pan/Tilt Systems: Precisely position a camera using two servos for horizontal and vertical movement.
- Automatic Door Mechanisms: Automate the opening and closing of a door using a servo and sensor.
Numerous online tutorials and resources are available to guide you through servo motor projects, from basic control to complex applications.
Tips for Success
- External Power: Use an external power supply for multiple servos or larger, more power-hungry models. This protects your Arduino board.
- Smoothing: Apply smoothing techniques to potentiometer readings to eliminate jerky servo movement.
- Gradual Movement: Implement code for gradual movement instead of instant jumps to create smoother operation.
- Power Requirements: Verify the power requirements of your servo and ensure your power supply meets those needs.
- Servo Library: Utilize the Arduino Servo library for simplified programming and easier control.
Servo Motor Control is a crucial step in the Arduino learning journey. It opens up a world of possibilities for projects involving mechanical movement and automated systems. Mastering this skill empowers you to build more complex and dynamic Arduino projects.
10. Musical Buzzer/Piano
The Musical Buzzer/Piano project offers a delightful entry into the world of sound generation with Arduino. This project uses a piezo buzzer, a simple component that produces sound when voltage is applied. By controlling the frequency of the voltage, you can create different musical tones. This project introduces fundamental concepts like frequency control, musical note programming, and basic input/output operations. You can control the buzzer with buttons or sensors to create a simple electronic piano, a music box, or even interactive sound installations.
This engaging project provides a hands-on understanding of how software can manipulate hardware to create audible output. You'll learn to use the tone() function, a powerful tool for generating specific frequencies corresponding to musical notes. This project provides a foundation for more complex audio projects, opening doors to creating unique sounds and interactive musical experiences.
Examples and Resources
Numerous examples illustrate the versatility of this project:
- Simple melodies: Play pre-programmed tunes using arrays to store note frequencies.
- Interactive piano: Use buttons as keys to create a miniature electronic piano.
- Sound-responsive installations: Trigger sounds based on sensor input, like light or motion.
Many online tutorials offer detailed instructions and code examples to guide you.
Tips for Success
- Start with Simple Tones: Begin by experimenting with the
tone()function to generate single notes and understand frequency control. - Melody Arrays: Store musical notes in arrays to easily play sequences of tones, creating melodies.
- Button Control: Connect buttons to trigger different notes, creating a simple interactive instrument.
- Multiple Buzzers: Experiment with multiple buzzers to explore harmonies and richer soundscapes.
- Octave Control: Implement octave shifting to expand the range of your musical creations.
The Musical Buzzer/Piano project is an engaging and rewarding way to learn about sound generation with Arduino. This project provides a fun and accessible entry point into the world of audio programming, inspiring further exploration of sound and music with microcontrollers. It's a fantastic project for beginners interested in interactive art, sound design, or simply creating fun gadgets.
Arduino Beginner Projects Comparison Matrix
| Project Title | Implementation Complexity 🔄 | Resource Requirements ⚡ | Expected Outcomes 📊 | Ideal Use Cases 💡 | Key Advantages ⭐ |
|---|---|---|---|---|---|
| LED Blink Circuit | Very Low 🔄 | Minimal (LED, resistor, Arduino) ⚡ | Basic digital output control 📊 | Beginners learning Arduino basics 💡 | Simple, quick, solid foundation ⭐ |
| Temperature and Humidity Monitor | Low to Medium 🔄 | Moderate (DHT sensor, resistor, optional LCD) ⚡ | Real-time environmental data monitoring 📊 | Home automation, weather stations 💡 | Practical sensor use, expandable ⭐ |
| Ultrasonic Distance Sensor | Low 🔄 | Moderate (HC-SR04 sensor, Arduino) ⚡ | Distance measurement and obstacle detection 📊 | Robotics, automation, parking aids 💡 | Non-contact measurement, versatile ⭐ |
| Push Button Controlled LED | Low 🔄 | Minimal (buttons, LED, resistors, Arduino) ⚡ | Interactive digital input control 📊 | User interfaces, control panels 💡 | Teaches input handling & debouncing ⭐ |
| Light-Controlled LED (LDR) | Low 🔄 | Minimal (LDR, resistors, LED, Arduino) ⚡ | Automatic light-based control 📊 | Automatic lighting, smart home projects 💡 | Energy saving, analog input learning ⭐ |
| Simple Alarm System | Medium 🔄 | Moderate (PIR sensor, buzzer, LEDs, Arduino) ⚡ | Motion detection with audio/visual alerts 📊 | Home/workshop security, demos 💡 | Multi-sensor integration, real-world use ⭐ |
| Digital Thermometer with LCD | Medium 🔄 | High (DS18B20 sensor, LCD, resistors, Arduino) ⚡ | Precise temp. reading with display 📊 | Thermostats, scientific/industrial use 💡 | High accuracy, professional display ⭐ |
| Traffic Light Simulator | Medium to High 🔄 | Moderate to High (multiple LEDs, buttons, Arduino) ⚡ | Sequential logic & state machine simulation 📊 | Educational demos, control systems 💡 | Scalable complexity, visual engagement ⭐ |
| Servo Motor Control | Low to Medium 🔄 | Moderate (servo motor, potentiometer, Arduino) ⚡ | Precise mechanical position control 📊 | Robotics, automated movement 💡 | Precise control, robotics foundation ⭐ |
| Musical Buzzer/Piano | Low to Medium 🔄 | Moderate (buzzer, buttons, resistors, Arduino) ⚡ | Interactive sound generation/music 📊 | Electronic instruments, learning sound 💡 | Fun, teaches sound & frequency control ⭐ |
Level Up Your Arduino Skills: Next Steps for Continued Learning
Congratulations on completing these 10 Arduino project ideas for beginners! You've now built a solid foundation in basic electronics, coding, and hardware interaction. From simple circuits like the LED blink to more interactive projects like the ultrasonic distance sensor and the musical buzzer, you've gained practical skills applicable to a wide range of applications. But the journey doesn't end here. This is just the beginning of your exploration into the vast potential of Arduino.
Expanding Your Arduino Toolkit
Now that you understand fundamental concepts, it's time to expand your knowledge. Consider exploring these key areas:
- Advanced Coding Techniques: Delve deeper into C++ programming, the language behind Arduino. Learn about functions, libraries, and object-oriented programming to create more complex and efficient code. This will unlock more sophisticated projects and give you greater control over your hardware.
- Sensor Integration: Experiment with a wider variety of sensors beyond the ones covered here. Explore sensors for pressure, motion, GPS, and more to create projects that interact with the physical world in diverse ways. Understanding sensor integration opens doors to building environmental monitoring systems, robotics, and interactive art installations.
- Communication Protocols: Learn how to connect your Arduino to other devices and the internet using protocols like I2C, SPI, and WiFi. Connecting your Arduino to the internet, for example, allows you to build projects like smart home automation systems and remote data logging applications.
- Project Planning and Design: As your projects become more complex, effective planning becomes crucial. Learn to break down your project into smaller, manageable tasks, create schematics, and troubleshoot potential problems before they arise. These skills will improve your efficiency and enhance the overall success of your projects.
Connecting with the Arduino Community
The Arduino community is a vibrant and supportive network of makers, hobbyists, and professionals. Engaging with this community can significantly accelerate your learning and inspire new project ideas for beginners and advanced users alike.
- Online Forums and Communities: Participate in online forums and communities like the official Arduino forum and Reddit communities dedicated to Arduino. Share your projects, ask questions, and learn from the experiences of others.
- Open-Source Projects: Explore open-source Arduino projects on platforms like GitHub. Examine the code, learn from the design choices, and contribute to existing projects or adapt them for your own purposes. This exposure to different coding styles and project structures will significantly expand your skill set.
- Local Maker Spaces: Connect with makers in your area by joining a local makerspace or hackerspace. These spaces provide access to tools, equipment, and a collaborative environment where you can learn from and work alongside other enthusiasts.
The world of Arduino offers boundless opportunities for creativity and innovation. By continually learning, experimenting, and connecting with the community, you can transform your Arduino project ideas for beginners into sophisticated and impactful creations. Embrace the challenge, explore the possibilities, and let your ingenuity guide you on this exciting journey.