Unleash Your Inner Artist with Code
Want to create stunning visuals, interactive experiences, and innovative digital art? This list of 10 creative coding projects offers diverse ways to blend code and creativity. Discover how to generate mesmerizing art with p5.js, build interactive installations, visualize audio, explore machine learning art, and even delve into immersive VR experiences. Whether you're a beginner or an experienced coder, these projects provide practical examples and inspiration to ignite your artistic coding journey. Explore these tools and techniques to transform your ideas into reality.
1. p5.js Generative Art
p5.js is a versatile JavaScript library specifically designed for creative coding and generating visual art within the web browser. It acts as a user-friendly entry point into the world of programming for artists, designers, educators, and beginners, offering a simplified and intuitive approach to creating interactive and dynamic visuals with code. Essentially, p5.js empowers users to write JavaScript code that manipulates shapes, colors, and other visual elements on a canvas, bringing their artistic visions to life in a digital environment. It's a reinterpretation of Processing for the web, making the powerful creative coding capabilities of Processing accessible through the familiar and ubiquitous platform of the web browser. p5.js generative art projects leverage algorithms – sets of instructions – to create visual compositions that can be static, animated, interactive, or even data-driven.
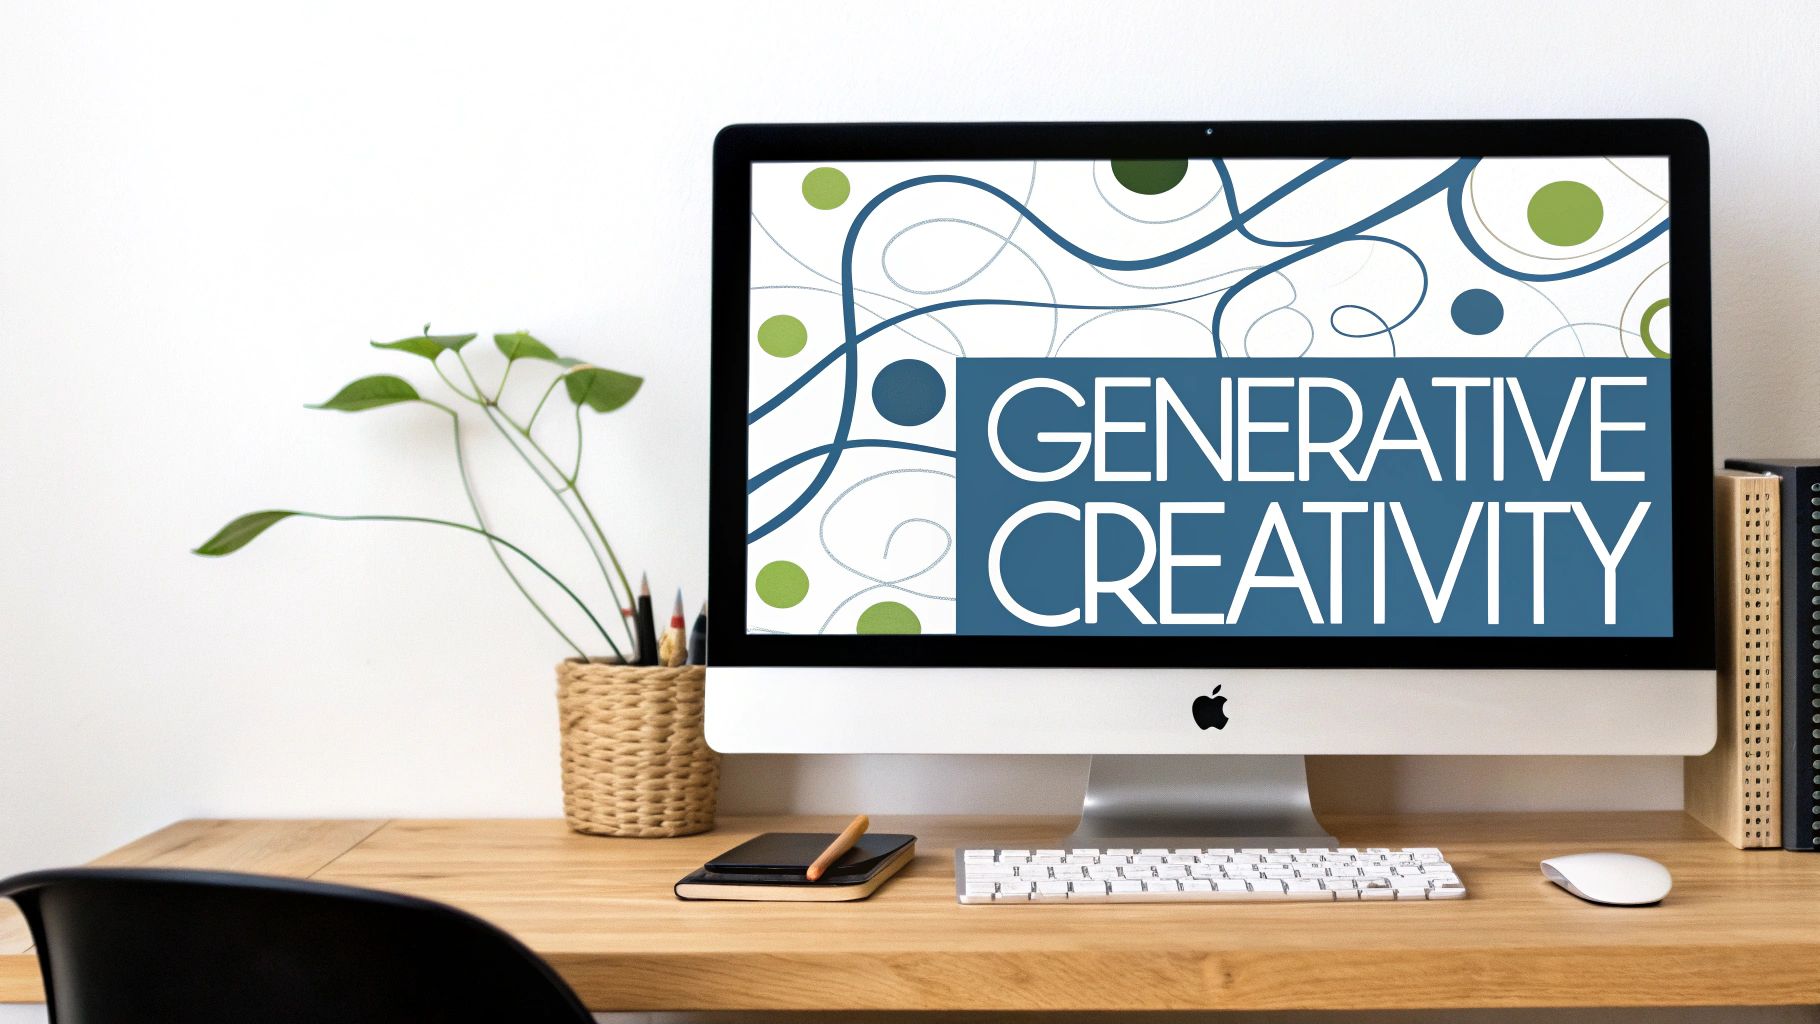
This approach allows artists to explore complex systems, create intricate patterns, and produce unique artworks with a degree of randomness and variation that would be difficult to achieve manually. Features like built-in mouse and keyboard interaction make it simple to create artwork that responds to user input, fostering a sense of engagement and playfulness. Furthermore, WebGL integration brings 3D graphics capabilities to p5.js, expanding the creative possibilities. Support for audio processing and visualization opens doors for incorporating sound and music into visual compositions, creating truly multimedia experiences. Learn more about p5.js Generative Art and explore its potential for creating captivating visual experiences.
Examples of successful p5.js projects include Kate Compton's 'Flowers' generative botanical illustrations, showcasing the potential for creating organic and intricate designs. Daniel Shiffman's 'Coding Train' visual experiments, available online, provide a wealth of learning resources and inspiration for beginners. Saskia Freeke's daily generative artwork demonstrates the commitment and creative output possible with p5.js. Finally, Nadieh Bremer's interactive data visualizations highlight the power of p5.js to transform data into compelling visual narratives.
p5.js earns its place on this list due to its accessibility and power. Its browser-based nature eliminates the need for complex installations, making it easy for anyone to get started. The extensive documentation and active community provide ample support for learners. The library is cross-platform compatible, working seamlessly across different operating systems and browsers. Moreover, a large ecosystem of extensions and libraries provides additional functionality and tools for expanding creative possibilities.
Pros:
- Low barrier to entry for beginners
- Extensive documentation and community support
- Works directly in web browsers without installation
- Cross-platform compatibility
- Large ecosystem of extensions and libraries
Cons:
- Performance limitations with complex visualizations
- Less powerful than native graphics programming
- Can be challenging to optimize for mobile devices
- Limited advanced 3D capabilities compared to specialized frameworks
Tips for using p5.js:
- Start with simple shapes and gradually add complexity.
- Use object-oriented programming for structuring complex systems.
- Implement noise functions (like Perlin noise) for natural-looking randomness.
- Create variables for colors and dimensions to easily modify designs.
- Use vector mathematics for implementing physics-based animations.
Pioneered by Lauren McCarthy (creator of p5.js), with its roots in Processing (created by Casey Reas and Ben Fry), and popularized by educators like Daniel Shiffman (author of 'The Nature of Code'), along with the vibrant OpenProcessing community, p5.js has become a crucial tool for creative expression and learning in the digital age. Its ease of use, extensive capabilities, and strong community make it an ideal starting point for anyone interested in exploring the world of creative coding.
2. Audio Visualization with Web Audio API
The Web Audio API empowers developers to create immersive and interactive audio experiences directly within web browsers. It provides a powerful toolkit for processing and manipulating audio data, making it ideal for generating dynamic visual representations of sound. This opens up a world of possibilities for creative coding projects, allowing developers to build everything from simple waveform displays to complex, reactive particle systems synchronized with music.
At its core, the Web Audio API works by creating an audio processing graph. This graph consists of various nodes, each performing a specific function, such as loading an audio source, applying filters, analyzing frequencies, and controlling output. For visualization purposes, the AnalyserNode is key. This node provides real-time frequency and time-domain data, which can then be used to drive visual elements. Frequency analysis, often using the Fast Fourier Transform (FFT), breaks down the audio into its constituent frequencies, allowing visualizations to respond to different pitches and tones. Time-domain analysis provides information about the overall amplitude or waveform of the sound, which can be used to create visualizations that pulsate and react to the rhythm and intensity of the music.
Several features contribute to the Web Audio API's versatility for creative coding:
- Real-time audio processing: Analyze and manipulate audio as it plays.
- Frequency analysis (FFT): Visualize the frequency spectrum of the audio.
- Time-domain analysis: Visualize the waveform and amplitude of the audio.
- Support for various inputs: Process microphone input or audio files.
- Integration with visual libraries: Seamlessly connect audio data with visual libraries like Three.js or the Canvas API.
This approach is perfect for crafting engaging audiovisual experiences that captivate users. Because it runs natively in modern browsers, distribution is straightforward. Whether you're working with live microphone input or pre-recorded audio files, the Web Audio API provides the flexibility to create highly customizable visual outputs, potentially leading to interactive musical experiences.
Many successful projects demonstrate the power of the Web Audio API for visualization. Matt DesLauriers' "Audiograph" visualizations offer a compelling exploration of audio-reactive graphics. Spotify has also experimented with various audio visualization features, showcasing its potential within mainstream applications. Google's "Music Lab" utilizes the API to create interactive educational tools that explore the fundamentals of music and sound. For a truly immersive experience, check out Butterfly Effect's "Panoramical," a stunning audio-visual journey.
Pros:
- Creates compelling audiovisual experiences.
- Runs natively in modern browsers.
- Can process both live and recorded audio.
- Highly customizable visual outputs.
- Potential for interactive music experiences.
Cons:
- Requires understanding of complex audio concepts (e.g., FFT).
- Potential cross-browser compatibility challenges.
- Complex visualizations can be computationally demanding.
- Limited mobile device support for some audio input features.
To get started with your own audio visualization project, consider these tips:
- Begin with simple visualizations like amplitude bars.
- Utilize
requestAnimationFramefor smooth animation loops. - Apply smoothing techniques to audio data to reduce visual jitter.
- Map specific frequency ranges to distinct visual elements.
- For complex visuals, optimize performance using WebGL.
The Web Audio API has been popularized by pioneers like Sven Bergstrom, an early innovator in audio visualization techniques, and Justin Windle, the creator of numerous impressive audio demos. The Chrome Experiments team and the vibrant CodePen audio visualization community have also significantly contributed to its widespread adoption. Learn more about Audio Visualization with Web Audio API and dive into the world of creative coding with sound! This approach deserves its place on this list because it empowers developers to bridge the gap between sound and visuals, offering a unique and engaging way to interact with digital media. It's a fantastic tool for aspiring vibe coders, experienced software developers, digital artists, creative technologists, educators, students, and innovative entrepreneurs alike.
3. Interactive Installations with Kinect and Processing
Interactive installations that respond dynamically to human presence offer a powerful way to bridge the physical and digital worlds. Combining the Microsoft Kinect sensor with the Processing programming language provides a robust and (relatively) affordable platform for creating these immersive experiences. This approach uses depth sensing, skeletal tracking, and motion detection to translate body movements into real-time interactions with digital art, making the viewer an active participant in the artwork.
How it Works:
The Kinect sensor acts as the "eyes" of the installation, capturing depth information and generating a 3D point cloud of the scene. Processing, a flexible and beginner-friendly programming language, then receives this data and uses it to track body position, identify gestures, and trigger visual or auditory responses. Libraries like KinectPV2 and OpenKinect for Processing simplify the communication between the sensor and the software, providing pre-built functions for common tasks like skeletal tracking and gesture recognition.
Features and Benefits:
- Full-body skeletal tracking: Accurately captures the position and movement of multiple joints in the body, allowing for detailed and nuanced interaction.
- Depth sensing capabilities: Enables the creation of responsive environments that react to proximity and distance.
- Gesture recognition: Allows users to interact with the installation through predefined gestures, like waving, pointing, or raising their hands.
- Multi-person tracking: Facilitates collaborative and social experiences within the installation.
- 3D point cloud visualization: Offers the possibility of creating dynamic and abstract visuals based on the captured depth data.
Pros:
- Creates naturally intuitive physical interactions: Users don't need to learn complex controls; their natural movements become the interface.
- Enables full-body immersive experiences: Offers a greater sense of presence and engagement compared to traditional mouse and keyboard interactions.
- No controllers or wearables required: Simplifies the user experience and reduces setup complexity.
- Works in varied lighting conditions: The Kinect's infrared-based depth sensing is less sensitive to ambient light changes than traditional camera-based systems.
- Relatively affordable hardware: Although discontinued, Kinect sensors are readily available secondhand at reasonable prices.
Cons:
- Kinect hardware discontinued by Microsoft: Finding new hardware might be difficult, and future support is uncertain.
- Limited range (typically 1.2-3.5 meters): Restricts the size and scale of the interactive space.
- Requires considerable physical space: You'll need enough room for both the installation and the user's interaction area.
- Processing has steeper learning curve than web-based alternatives: While beginner-friendly, Processing requires coding knowledge.
- Setup and calibration can be challenging: Getting the Kinect and Processing to communicate seamlessly can sometimes require troubleshooting.
Examples of Successful Implementation:
- Rafael Lozano-Hemmer's 'Pulse Index': Records and visualizes the heartbeats of participants, creating a collective biometric portrait.
- Theo Watson's 'Eyewriter' project: Allows individuals with paralysis to communicate and create art using only their eye movements.
- Design I/O's 'Connected Worlds': An interactive ecosystem where visitors' movements influence a virtual environment projected onto a large wall.
- Kyle McDonald's 'Presence' projection mapping works: Uses Kinect to create interactive projections that respond to the viewer's presence and movements.
Tips for Getting Started:
- Start with simple interactions like hand tracking before moving on to more complex gestures.
- Use libraries like KinectPV2 or OpenKinect for Processing to streamline development.
- Filter noise from depth data for cleaner and more reliable interactions.
- Consider the physical space and viewing angles when designing your installation.
- Test interactions with different body types and movements to ensure accessibility and inclusivity.
Popularized By:
Daniel Shiffman (tutorials and examples), Design I/O creative studio, Golan Levin (interactive art pioneer), MediaLab at MIT.
Why This Approach Deserves Its Place in the List:
Kinect and Processing offer a powerful and accessible entry point into the world of interactive installations. While newer technologies exist, this combination remains relevant due to its affordability, extensive documentation, and the large community of artists and developers who continue to use and support it. It's an ideal choice for those looking to experiment with full-body interaction and create immersive experiences without needing expensive or specialized equipment.
4. Machine Learning Art with RunwayML
RunwayML (https://runwayml.com/) is a powerful platform democratizing access to machine learning for creative coding projects. It offers a user-friendly interface and a suite of pre-trained AI models, allowing artists and developers to explore the intersection of AI and art without needing extensive machine learning expertise. It achieves this by abstracting away complex code and providing ready-to-use models for various creative applications, such as style transfer, image generation, video synthesis, and even motion capture. By simply dragging and dropping, users can apply sophisticated AI effects in real-time or generate entirely new artworks driven by algorithms.
RunwayML simplifies the process by offering a modular, node-based workflow. Users connect different modules representing various AI models and customize their parameters to achieve unique results. This allows for rapid prototyping and experimentation, making it ideal for both beginners and experienced creators.
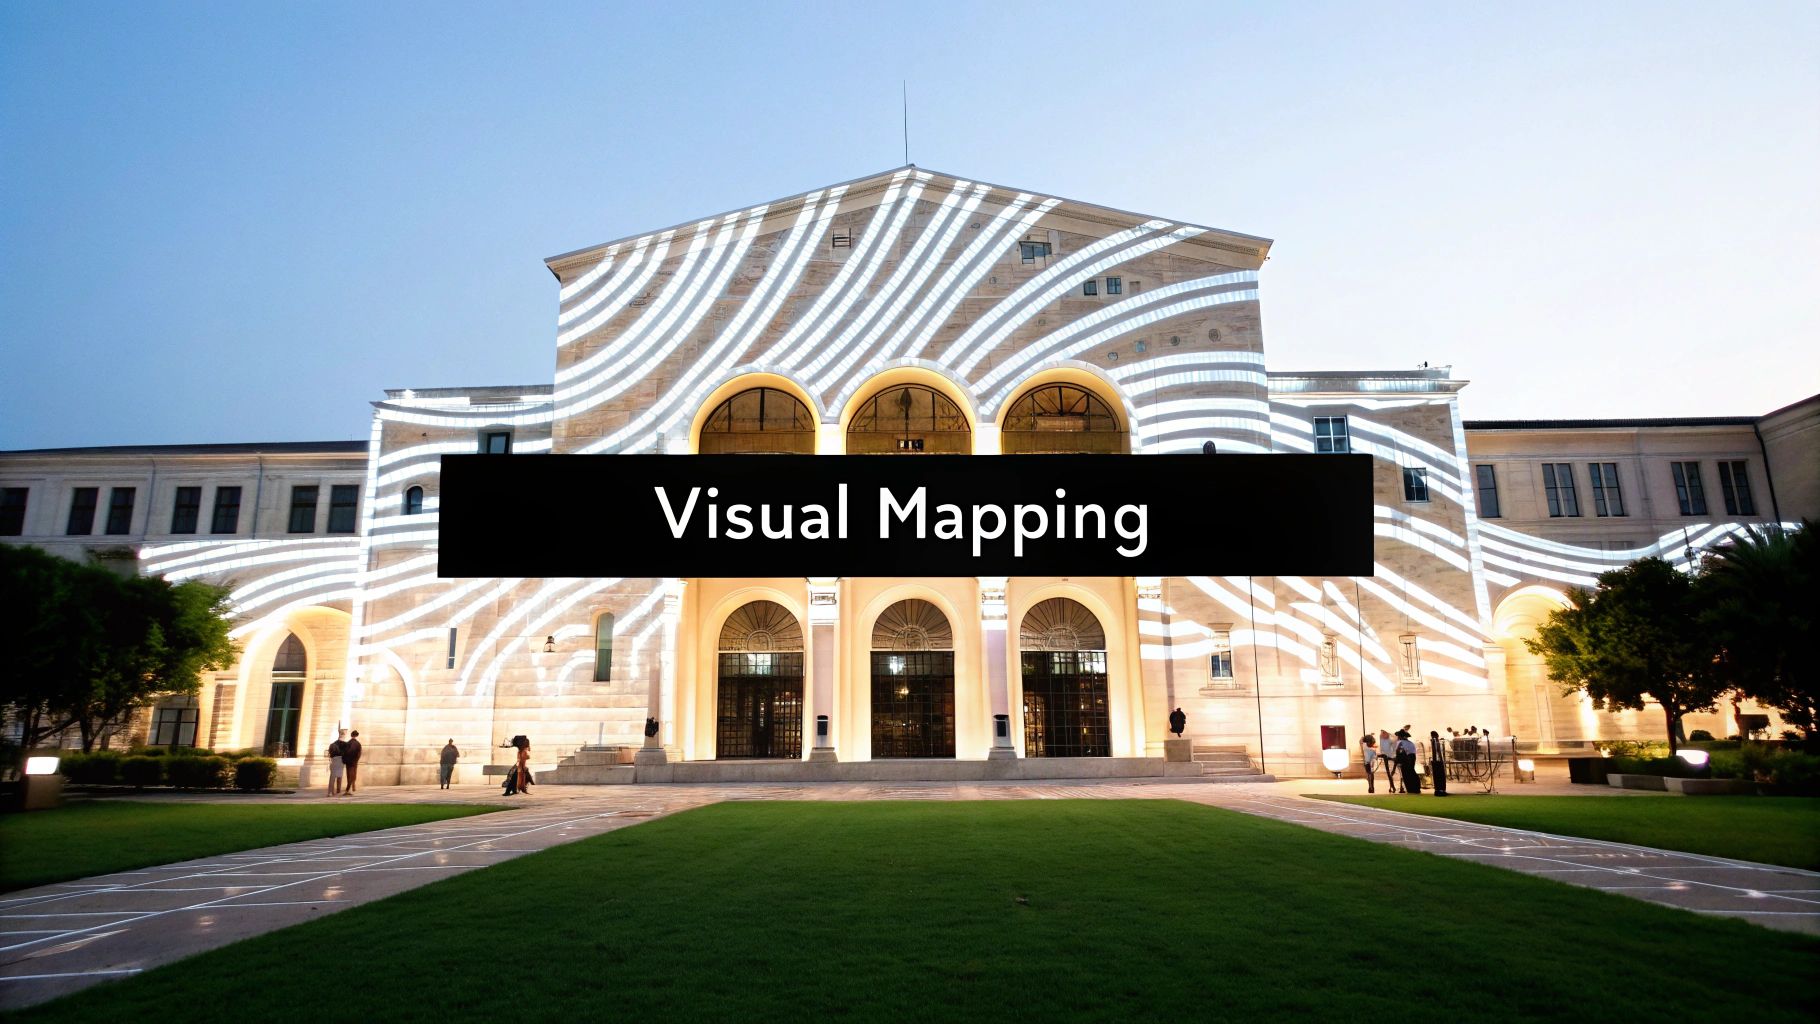
Several prominent artists and projects showcase the potential of RunwayML: Gene Kogan’s "Neural Synthesis" experiments demonstrate the power of generative adversarial networks (GANs) for creating mesmerizing visuals, Refik Anadol’s "Machine Hallucinations" transforms data into stunning architectural projections, and Anna Ridler’s "Mosaic Virus" uses GANs to explore historical narratives. These examples highlight the diverse range of creative applications possible within RunwayML, from generative art and video installations to interactive sculptures.
Key Features and Benefits:
- Pre-trained Models: Explore a vast library of GANs, style transfer networks, pose estimation models, and more, readily available for experimentation.
- User-Friendly Interface: Minimal coding experience is required, thanks to the intuitive drag-and-drop interface and visual workflow.
- Real-time Applications: Apply AI effects in real-time, enabling interactive installations and performances.
- Software Integration: Seamless integration with popular creative coding environments like Processing, p5.js, and TouchDesigner expands the possibilities.
- Custom Model Training: While pre-trained models offer a quick starting point, RunwayML also supports training custom models for more specialized needs.
Pros:
- Accessibility: Empowers non-technical creatives to leverage AI in their work.
- Rapid Prototyping: Facilitates quick experimentation and iteration of AI-driven art projects.
- Flexible Workflows: Supports both real-time and pre-rendered outputs.
- Community and Updates: Benefits from a vibrant community and regular updates with new models and features.
Cons:
- Subscription Costs: Advanced features and increased GPU usage require a paid subscription.
- Limited Control: Offers less control compared to coding directly with ML frameworks.
- Platform Dependency: Projects are tied to the RunwayML platform.
- Resource Intensity: Some models require significant computational resources.
Tips for Getting Started:
- Begin with Style Transfer or GANs: These models provide visually striking results quickly, offering a great entry point.
- Combine Multiple Models: Chain together different models to create more complex and unique outputs.
- Explore the HTTP API: Utilize the API to integrate RunwayML with custom applications and workflows.
- Experiment with Video Input: Process video streams to create dynamic and temporal AI effects.
- Prepare Training Data: If training custom models, carefully curate and prepare your datasets for optimal performance.
RunwayML deserves its place on this list because it bridges the gap between complex machine learning concepts and artistic expression. It empowers a broad audience to explore the creative potential of AI, fostering a new wave of digital art and interactive experiences. Whether you are a seasoned coder, a visual artist, or simply curious about AI, RunwayML provides the tools and resources to bring your creative visions to life.
5. Projection Mapping with TouchDesigner
Projection mapping with TouchDesigner offers a powerful way to transform static physical objects and spaces into dynamic, interactive canvases. This technique uses specialized software, in this case, TouchDesigner (https://derivative.ca/), to precisely project digital content onto real-world surfaces, creating immersive and engaging experiences. Essentially, you're "mapping" the contours and geometry of a physical object within the software and then using that map to project visuals that perfectly align with its shape, giving the illusion of movement, texture changes, and even impossible transformations.
TouchDesigner excels in this area because of its node-based visual programming interface. This allows for complex systems to be built by connecting functional nodes, representing different operations like video playback, 3D modeling, effects processing, and input handling. This approach, combined with a real-time rendering engine, makes it ideal for creating dynamic and responsive projections. Built-in projection mapping tools simplify the calibration process, allowing for accurate alignment of visuals even on complex geometries. The software also supports multiple projectors and displays for large-scale installations and integrates with various input devices like MIDI controllers, OSC protocols, and sensors, enabling interactive experiences where the projections react to real-time data or audience participation.
Successful Implementations:
Several prominent examples showcase the captivating potential of projection mapping with TouchDesigner:
- Obscura Digital's projections on the Sydney Opera House: These stunning displays transformed the iconic sails into vibrant, animated artworks.
- Moment Factory's Lumina night walk series: These immersive experiences use projection mapping to create magical pathways through natural landscapes.
- Refik Anadol's data sculptures on Walt Disney Concert Hall: Anadol utilizes TouchDesigner to project data-driven visualizations onto the building's architecture, turning it into a living, breathing data sculpture.
- Bot & Dolly's 'Box' projection mapping on moving surfaces: This groundbreaking work showcased the precision and dynamic capabilities of projection mapping by syncing projections with robotic arm movements.
Tips for Getting Started:
- Start simple: Begin with projecting simple geometric shapes onto flat surfaces to understand the basic principles of mapping and calibration.
- Camera alignment: Use a camera positioned similarly to your projector for easier mapping. This helps the software understand the relationship between the projector, the object, and the projected image.
- Masking: Create masks within TouchDesigner to precisely control the edges of your projections and ensure they align perfectly with the object's shape.
- Modular design: Build your TouchDesigner projects in a modular fashion, creating reusable components to streamline your workflow and manage complex systems.
- Test in situ: Frequently test your projections in the actual installation space to account for ambient lighting, surface irregularities, and other real-world factors.
When and Why to Use TouchDesigner for Projection Mapping:
TouchDesigner's robust features make it the tool of choice for demanding projection mapping projects. Its real-time capabilities, extensibility through Python scripting, and support for complex interactive systems are unparalleled. Consider using TouchDesigner if your project requires:
- High-performance graphics: When you need smooth, high-resolution visuals, especially in real-time.
- Complex interactivity: If your projection needs to respond to various inputs and create dynamic experiences.
- Large-scale installations: For projects involving multiple projectors and complex setups.
- Customizability: When off-the-shelf solutions don't meet your specific needs and you require extensive control.
Pros:
- Powerful real-time graphics capabilities
- Highly extensible with Python scripting
- Excellent for live performances and installations
- Strong community of professional users
- Supports complex interactive systems
Cons:
- Steep learning curve
- Expensive commercial licenses for professional use
- Resource-intensive on hardware
- Primarily Windows-focused (though a macOS version exists)
- Less beginner-friendly than alternatives like Processing
TouchDesigner's position on this list is well-deserved. It represents a powerful and versatile platform for creating truly innovative and immersive projection mapping experiences. While the learning curve might be steep, the creative possibilities it unlocks are immense, making it an invaluable tool for digital artists, creative technologists, and anyone seeking to push the boundaries of visual storytelling.
6. Algorithmic Art with Processing
Processing (https://processing.org/) offers a powerful and flexible environment for creating algorithmic art, a genre that leverages mathematical rules and computational processes to generate visually stunning and often complex artwork. This approach allows artists and programmers to explore the intersection of art, mathematics, and computer science, resulting in unique visual experiences that can range from mesmerizing geometric patterns to organic-looking simulations.
At its core, algorithmic art with Processing involves writing code, typically in Java (though Python and other modes are available), to define procedures that generate and manipulate visual elements. These procedures often employ concepts like fractals, recursion, particle systems, and cellular automata to produce emergent behavior and unexpected aesthetic outcomes.
How it Works:
Processing provides a simplified Java-based programming environment along with a rich set of built-in functions for drawing shapes, manipulating colors, and controlling animation. You write code that defines the rules and parameters for your artwork. The Processing environment then executes this code, generating the visuals based on your instructions. This can involve anything from plotting mathematical functions to simulating physical forces acting on particles.
Examples of Successful Implementation:
Several artists have pioneered the use of Processing for creating stunning algorithmic art:
- Jared Tarbell's 'Substrate': This work demonstrates the beauty of fractal growth patterns, simulating organic branching structures.
- Robert Hodgin's 'Magnetosphere': This piece visualizes particle systems reacting to forces, creating dynamic and flowing forms.
- Marius Watz's generative sculptures and prints: Watz takes algorithmic art beyond the screen, using Processing to design intricate 3D-printed sculptures and generative prints.
- Casey Reas' 'Process' series: Reas, a co-creator of Processing, uses the platform to create minimalist yet compelling computational artworks.
Actionable Tips:
- Implement classic algorithms: Experiment with Perlin noise for organic textures, L-systems for plant-like structures, and cellular automata for emergent patterns.
- Save seed values: Keep track of the initial parameters (seeds) that produce interesting results for future reproduction and iteration.
- Object-Oriented Programming (OOP): For complex systems, use OOP principles to organize your code and create reusable components.
- High-Resolution Outputs: Leverage Processing's export capabilities to create high-resolution images and videos suitable for print or large-scale displays.
- Explore deterministic and stochastic processes: Experiment with both predictable (deterministic) and random (stochastic) processes to achieve a variety of visual outcomes.
When and Why to Use Processing for Algorithmic Art:
Processing is an excellent choice when:
- You want fine-grained control over the generation of your artwork.
- You are interested in exploring complex mathematical and computational concepts visually.
- You require high performance for computationally intensive algorithms.
- You need flexible export options for various media.
Pros:
- Powerful performance for complex computations
- Mature and stable development environment
- Strong educational resources and community
- Excellent for high-resolution outputs
- Flexible for both 2D and 3D graphics
Cons:
- Desktop-based (not web-native)
- Java dependencies can be cumbersome
- Less immediate than browser-based alternatives
- Slightly dated interface compared to newer tools
- Steeper learning curve for complete programming beginners
Why Processing Deserves its Place on the List:
Processing has been instrumental in the development and popularization of algorithmic art. Its accessibility, combined with its power and flexibility, makes it an ideal tool for both beginners and experienced artists and programmers who want to explore the creative potential of code. It continues to be a relevant platform for creating sophisticated generative art and serves as a valuable educational tool for learning computational and visual design principles. Processing's open-source nature and strong community further contribute to its enduring value in the field of creative coding. It empowers creators to push the boundaries of artistic expression through code, resulting in a diverse and ever-evolving body of algorithmic art.
7. Immersive WebVR Experiences with A-Frame
A-Frame is a powerful open-source web framework specifically designed for building virtual reality (VR) experiences that run directly within web browsers. Leveraging the power of WebVR and its successor WebXR, A-Frame democratizes VR development by allowing creators to build immersive 3D environments accessible through readily available hardware like VR headsets or even standard desktop and mobile browsers. This accessibility removes significant barriers to entry for both creators and consumers of VR content. Instead of requiring users to download and install dedicated applications, A-Frame experiences can be launched with a simple click, making it ideal for sharing and distributing VR projects.
A-Frame simplifies the development process with its declarative, HTML-based structure. Developers define scenes and objects using familiar HTML tags, making it easy to get started, even for those without extensive 3D graphics programming experience. Under the hood, A-Frame is built on top of Three.js, a robust JavaScript 3D library, which handles the complex rendering tasks. This allows developers to focus on the creative aspects of their projects rather than grappling with low-level graphics programming. A-Frame's entity-component system architecture provides a modular and flexible way to add behaviors and functionalities to objects within the VR environment.

A-Frame is a great choice for a wide variety of immersive experiences. Examples of successful implementations include Mozilla's "A-Painter," a VR painting application; engaging WebVR experiences by Supermedium; architectural visualization tools developed by Fasility; and compelling, immersive brand experiences crafted by Active Theory. These examples demonstrate the versatility of A-Frame across various applications, from artistic expression to practical tools and marketing campaigns.
Pros:
- Low barrier to entry: Basic A-Frame projects require only HTML knowledge.
- No app installation required: Users can access experiences directly in their browsers.
- Cross-platform compatibility: Works across various VR headsets and standard browsers.
- Extensive documentation and examples: A rich ecosystem supports learning and development.
- Progressive enhancement for non-VR devices: Allows for fallback experiences for users without VR hardware.
Cons:
- Performance limitations: Compared to native VR applications, A-Frame projects may face performance constraints, particularly with complex scenes.
- Limited access to advanced hardware features: Access to cutting-edge VR hardware functionalities might be restricted compared to native development.
- Variable browser support for WebXR: While WebXR adoption is growing, discrepancies in browser support for specific features can still be encountered.
- Mobile VR support diminishing: While still possible, mobile VR support within A-Frame is becoming less of a focus.
Tips for Getting Started:
- Start simple: Begin with basic geometric environments to grasp the fundamentals.
- Optimize assets: Use efficient 3D models and textures to maintain performance.
- Design for diverse input: Consider various interaction methods, including gaze, controllers, and keyboard input.
- Test thoroughly: Ensure compatibility across multiple VR and non-VR platforms.
- Incorporate spatial audio: Enhance immersion by integrating 3D sound design.
A-Frame earns its place in this list because it offers a uniquely accessible and efficient pathway into the world of VR development. Its declarative syntax, reliance on web standards, and cross-platform compatibility make it an ideal choice for beginners and experienced developers alike who are looking to create engaging and shareable VR experiences. Driven by contributors like Mozilla's VR team, Diego Marcos, Don McCurdy, and the Supermedium VR browser team, A-Frame continues to evolve and empower creators in the ever-expanding landscape of immersive technologies. You can find more information and resources on the A-Frame website.
8. Interactive Data Art with D3.js
D3.js (Data-Driven Documents) is a powerful JavaScript library that allows you to create dynamic and interactive data visualizations in web browsers. Unlike chart libraries that offer pre-built visualization types, D3.js provides a lower-level approach, granting unparalleled flexibility in how you represent data visually. It works by manipulating the Document Object Model (DOM) directly, binding data to HTML, SVG, and Canvas elements. This allows you to create everything from standard charts and graphs to unique, artistic representations of data, opening up a world of possibilities for creative coding projects. These visualizations can then respond to user interactions, allowing for exploration and a deeper understanding of the underlying information.
D3.js excels at transforming datasets into engaging visual experiences that go beyond static displays. It allows for the artistic interpretation of data, revealing patterns and insights in a way that captures attention and encourages interaction. Imagine visualizing the flow of global wind patterns, exploring the relationships between characters in a novel, or depicting the evolution of a musical piece—all of these are possible with D3.js.
Features and Benefits:
- Direct DOM Manipulation: D3.js allows for fine-grained control over every visual aspect of your visualization. You are not limited to pre-defined templates.
- Powerful Data Binding: Seamlessly connect your data to visual elements, enabling dynamic updates and sophisticated representations.
- Extensive Visualization Techniques: D3.js provides the building blocks for a wide array of visualization techniques, including but not limited to bar charts, scatter plots, network graphs, treemaps, and geographic maps.
- Animation and Transitions: Bring your visualizations to life with smooth transitions and animations, highlighting changes in data and enhancing user understanding.
- Advanced Interaction Capabilities: Create visualizations that respond to user clicks, hovers, and other interactions, allowing for data exploration and discovery.
Examples of Successful Implementation:
- Nadieh Bremer's and Shirley Wu's 'Data Sketches': This collaborative project showcases the artistic potential of D3.js through stunning visualizations that explore various datasets.
- Shirley Wu's interactive data artworks: Wu is known for her innovative use of D3.js to create visually striking and insightful data-driven narratives.
- New York Times' data journalism visualizations: The New York Times frequently uses D3.js to present complex data related to news events in an accessible and engaging manner.
- Fernanda Viégas and Martin Wattenberg's 'Wind Map': This iconic visualization utilizes D3.js to depict real-time wind patterns across the United States, beautifully demonstrating the power of data art.
Tips for Using D3.js:
- Start Small: Begin with small datasets and simple visualizations to grasp the fundamental concepts before tackling complex projects.
- Sketch Your Concepts: Before diving into code, sketch your visualization ideas on paper to plan the layout, visual elements, and interactions.
- Leverage D3's Scales: Utilize D3's built-in scales to effectively map data values to visual properties like position, size, and color.
- Implement Smooth Transitions: Employ transitions to create visually appealing and informative animations when data changes.
- Prioritize Responsive Design: Ensure your visualizations adapt gracefully to different screen sizes for optimal viewing across devices.
Pros:
- Unparalleled flexibility for custom visualizations
- Strong support for data processing and transformation
- Creates web-native, shareable visualizations
- Large community and extensive examples
- Excellent for both artistic and analytical visualizations
Cons:
- Steep learning curve
- More verbose than high-level visualization libraries
- Requires understanding of web technologies (SVG, HTML, CSS)
- Performance challenges with large datasets
- More code-intensive than designer-focused tools
D3.js deserves a place on this list because it empowers creative coders to push the boundaries of data visualization. While it requires a greater time investment to learn compared to simpler tools, the payoff is the ability to craft bespoke, interactive visual experiences that truly communicate the story within the data. Its flexibility and control make it ideal for anyone seeking to create unique and compelling data-driven artworks.
9. Creative Coding with Shaders in GLSL
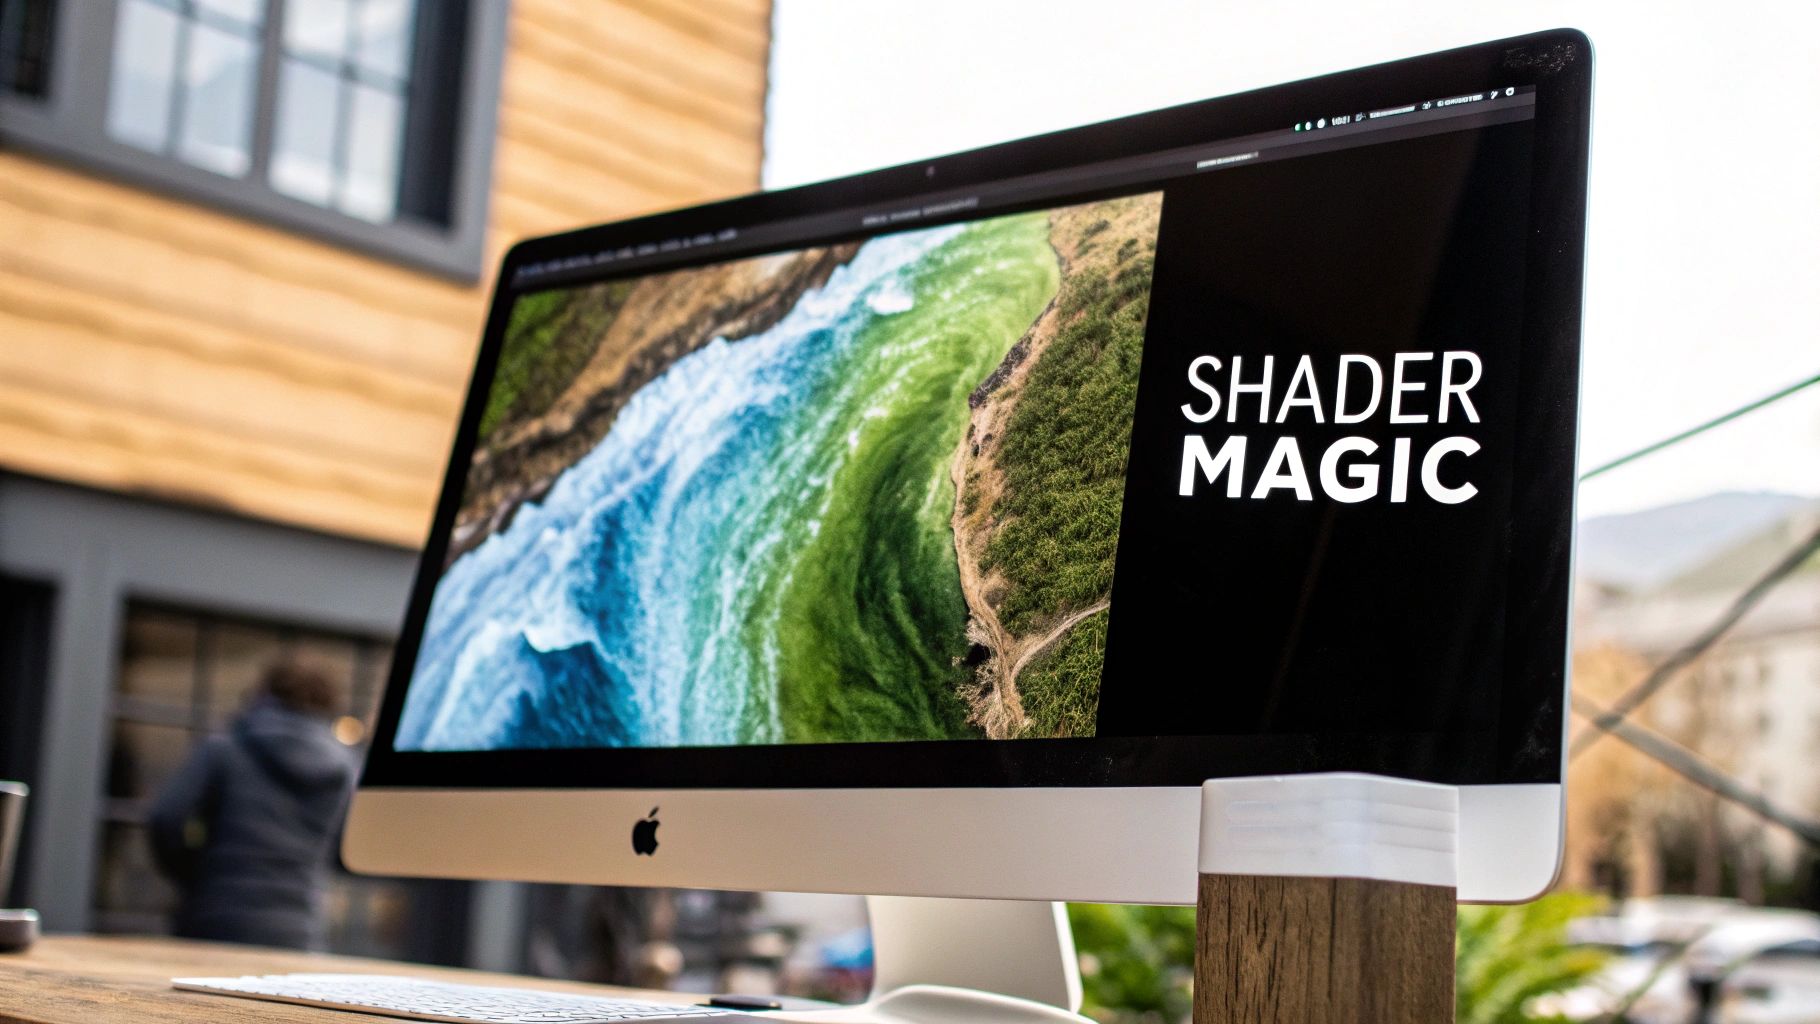
For those seeking to push the boundaries of visual expression in real-time, Creative Coding with Shaders in GLSL (Graphics Library Shading Language) offers a powerful and versatile approach. GLSL is a specialized language used to write shaders, small programs that execute directly on a computer's Graphics Processing Unit (GPU). This direct access allows for unparalleled performance when generating complex visual effects, opening doors to real-time graphics that would be impossible with traditional CPU-based rendering.
Shaders operate within the graphics pipeline, primarily through two types: vertex shaders and fragment shaders. Vertex shaders manipulate the position and properties of 3D vertices, while fragment shaders determine the color and other attributes of each individual pixel. This parallel processing capability of GPUs allows for highly optimized rendering, making shaders ideal for anything from abstract generative art to realistic simulations of natural phenomena, like fire, water, or smoke. Imagine creating swirling galaxies, intricate fractal patterns, or realistic material simulations – all rendered in real-time and responding dynamically to user input. This is the power of GLSL.
The magic of shaders lies in their ability to mathematically express visual phenomena. By manipulating variables and functions within the shader code, you can create an astonishing range of effects. For example, noise functions can generate organic textures and patterns, while signed distance functions (SDFs) allow for the precise definition of complex geometric shapes.
Examples of successful implementations are plentiful and inspiring:
- Inigo Quilez's 'Shadertoy' demonstrations: Quilez, a shader art pioneer, showcases a breathtaking array of shader creations on Shadertoy, a popular online platform for sharing and exploring shaders.
- Ben Kovach's procedural shader artworks: Kovach's work exemplifies the artistic potential of shaders, using them to generate captivating abstract and geometric compositions.
- Patricio Gonzalez Vivo's 'The Book of Shaders': This online resource provides an excellent introduction to shader programming, guiding beginners through the fundamentals with clear explanations and interactive examples. Learn more about Creative Coding with Shaders in GLSL for deeper exploration into frameworks like Three.js that utilize shaders.
- Raven Kwok's algorithmic visual experiments: Kwok utilizes shaders to create mesmerizing algorithmic visuals often synchronized with music, showcasing the dynamic and interactive capabilities of GLSL.
Tips for Getting Started:
- Start simple: Begin with 2D fragment shaders before tackling the complexities of 3D vertex shaders.
- Utilize Shadertoy: This platform provides an excellent environment for quick prototyping and experimentation with shaders.
- Build a library: Create a collection of reusable shader functions for common tasks like noise generation, color manipulation, and shape definition.
- Learn SDFs: Signed distance functions are a powerful tool for creating complex geometric shapes within shaders.
- Study noise functions: Noise functions are essential for generating organic textures, patterns, and effects.
Pros:
- Extremely fast execution for complex visuals.
- Capable of real-time rendering of advanced effects.
- Cross-platform compatibility (web, mobile, desktop).
- Enables effects impossible with CPU-based rendering.
- Integrates with various frameworks and engines.
Cons:
- Steep learning curve, requiring mathematical and programming aptitude.
- Debugging can be challenging due to the parallel nature of GPU execution.
- Results can be hardware-dependent, varying across different GPUs.
- Requires understanding of the graphics pipeline.
- Limited direct access to system resources.
Creative Coding with Shaders in GLSL deserves its place on this list due to its unique ability to unlock a world of real-time visual possibilities. While the learning curve can be challenging, the payoff is immense, empowering you to create stunning visuals and interactive experiences that push the boundaries of digital art and creative coding. This approach is particularly relevant to aspiring vibe coders, experienced software developers, digital artists, and anyone seeking to harness the power of the GPU for creative expression.
10. Physical Computing with Arduino
Arduino offers a uniquely accessible entry point into the world of physical computing, blurring the lines between the digital and physical realms. It empowers creative coders to build interactive objects that sense and respond to the real world, opening up a vast landscape of artistic and practical applications. At its core, Arduino combines open-source hardware (microcontrollers) and software (the Arduino IDE) to control and interact with physical components like sensors, motors, lights, and speakers.
How it Works:
The Arduino microcontroller acts as the brain of your project. You write code using a simplified version of C/C++, which instructs the microcontroller on how to interact with various input and output devices. For example, you could program a light sensor to detect changes in ambient light and trigger a motor to open or close a window blind accordingly. Input sensors gather data from the environment (light, temperature, pressure, etc.), which the Arduino processes and then uses to control output devices, creating dynamic and interactive systems.
Examples of Successful Implementation:
Arduino's versatility is evident in its diverse range of applications:
- Interactive Art Installations: Random International's mesmerizing 'Rain Room' installation uses Arduino and depth sensors to create a simulated rainfall that stops wherever a person walks, offering a captivating interaction between humans and digital environments. Golan Levin's 'Ghost Pole Propagator' uses Arduino to control a series of interconnected rods, creating a dynamic and responsive kinetic sculpture.
- Kinetic Sculptures: David Bowen's 'Fly Revolver' showcases Arduino's power in kinetic art by using the movements of houseflies to control a robotic arm holding a revolver.
- Wearable Technology: Adafruit, a leading provider of Arduino-compatible hardware, offers numerous projects and tutorials demonstrating the creation of wearable electronics, from LED-embedded clothing to interactive jewelry.
- Tangible Interfaces: Arduino can bridge the gap between the digital and physical in everyday objects, creating tangible interfaces for controlling software or interacting with data.
Tips for Getting Started:
- Start Small: Begin with simple circuits using LEDs, buttons, and potentiometers before tackling complex installations.
- Breadboard Prototyping: Use breadboards for prototyping your circuits before soldering, allowing for easy modifications and experimentation.
- Document Everything: Carefully document your circuit connections and code, making troubleshooting and future iterations much easier.
- Visual Feedback with Processing: Combine Arduino with Processing, a visual programming language, to create compelling visual representations of sensor data or to control graphical interfaces with physical inputs.
- Power Considerations: Consider the power requirements for portable projects and choose appropriate power sources.
Why Use Arduino for Creative Coding?
Arduino's place in the creative coding landscape is secured by its numerous advantages:
- Low Cost of Entry: Arduino boards are relatively inexpensive, making physical computing accessible to a wider audience.
- Beginner-Friendly: The simplified programming language and extensive documentation make it easy for beginners to get started.
- Large Community and Support: A vast online community provides support, tutorials, and project ideas.
- Extensibility: Arduino's extensive shield ecosystem allows you to easily add specialized functionality, such as Wi-Fi, Bluetooth, and motor control.
- Integration with Other Platforms: Arduino can be integrated with other creative coding platforms like Processing and openFrameworks, expanding its capabilities.
Pros & Cons:
Pros: Low cost, beginner-friendly, large community, extensive documentation, highly extensible.
Cons: Limited processing power for complex tasks, requires physical components, basic electronics knowledge needed, physical prototyping can be time-consuming, debugging hardware issues can be challenging.
Popularized By: Massimo Banzi and team (Arduino creators), Limor Fried (Adafruit founder), Tom Igoe (physical computing pioneer), MIT Media Lab's tangible media group.
Website: https://www.arduino.cc/
Arduino offers a powerful and accessible platform for bringing your creative coding ideas to life in the physical world. Whether you're an artist, designer, engineer, or hobbyist, Arduino empowers you to explore the exciting possibilities of interactive objects and environments.
Creative Coding Projects: Side-by-Side Comparison
| Project | Complexity (🔄) | Resources (⚡) | Outcomes (📊) | Use Cases (⭐) | Tips (💡) |
|---|---|---|---|---|---|
| p5.js Generative Art | Beginner-friendly overall, though advanced optimization can be challenging | Browser-based, low installation overhead, cross-platform | Interactive, animated generative art pieces | Creative coding, art education, web-based installations | Start simple; use vector math and noise functions for organic randomness |
| Audio Visualization with Web Audio API | Moderate-to-high due to real-time audio processing and FFT analysis | Demands modern browsers and careful performance management | Dynamic, music-driven visualizations and real-time visuals | Music visualizers, educational demos, interactive audio art | Begin with amplitude bars; use requestAnimationFrame for smoother loops |
| Interactive Installations with Kinect and Processing | High – involves calibration, skeletal tracking, and gesture recognition | Requires specialized Kinect hardware and ample physical space | Immersive installations with natural, physical interactions | Museum installations, public interactive art, gesture-driven displays | Start with simple hand tracking; test interactions with diverse users |
| Machine Learning Art with RunwayML | Low coding complexity but depends on integrating ML models effectively | May require cloud computing or high-end hardware for custom models | AI-assisted visuals such as style transfers and generative imagery | Digital and AI art projects, rapid prototyping for creative experiments | Begin with pre-trained models; experiment with combining effects |
| Projection Mapping with TouchDesigner | High – steep learning curve with node-based programming and setup | Resource-intensive; demands robust hardware and multi-display setups | Real-time, dynamic projections that transform physical surfaces | Live performances, architectural installations, art shows | Start with basic geometry; use camera alignment to ease mapping |
| Algorithmic Art with Processing | Moderate-to-high – programming and math-intensive work required | Desktop-based Java environment with reliable computing power | High-resolution, code-generated art with complex patterns | Exhibitions, printed artworks, digital installations | Leverage Perlin noise, seed values, and well-known algorithms |
| Immersive WebVR Experiences with A-Frame | Accessible for simple setups; may become complex for advanced scenes | Browser-based with VR dependencies; performance may vary with scene complexity | 3D immersive environments and interactive VR experiences | Virtual galleries, interactive stories, spatial design explorations | Optimize assets; design for varied input types and devices |
| Interactive Data Art with D3.js | Steep learning curve due to detailed DOM manipulation and web tech | Browser-driven; potential performance challenges with large data sets | Data-driven, interactive visualizations that reveal hidden patterns | Data journalism, analytical art, complex visual storytelling | Prototype with small datasets; sketch ideas prior to coding |
| Creative Coding with Shaders in GLSL | Very high – advanced GPU programming and graphics pipeline understanding required | Efficient GPU execution though debugging can be hardware-sensitive | Real-time, high-performance visual effects and procedural graphics | Experimental visuals, live coding sessions, VJ performances | Start with 2D fragment shaders; use Shadertoy to prototype functions |
| Physical Computing with Arduino | Basic coding with added complexity from hardware integration | Inexpensive hardware components; additional sensors and actuators needed | Interactive, tangible installations that bridge digital and physical | Wearable tech, smart installations, educational electronics projects | Begin with simple circuits; document connections and prototype on breadboards |
Ready to Start Coding?
From generative art with p5.js to immersive VR experiences using A-Frame and physical computing with Arduino, the projects explored in this article demonstrate the breadth and depth of creative coding. We've seen how tools like Processing, RunwayML, and TouchDesigner empower artists and developers to create stunning visuals, interactive installations, and data-driven narratives. Key takeaways include the importance of understanding fundamental programming concepts, the power of experimentation, and the potential for combining different technologies to achieve unique artistic expressions.
Mastering these approaches is valuable not only for artistic pursuits but also for enhancing problem-solving skills and fostering innovative thinking. Whether you're a seasoned developer looking to explore a new creative outlet or a complete beginner taking your first steps into the world of code, these projects offer a pathway to creating truly engaging and inspiring work. The convergence of art and technology continues to reshape our world, and by embracing these tools and techniques, you can become a part of this exciting evolution.
Perhaps you're looking to explore your artistic side in a different medium. Want to explore your creativity further? Try designing your own coloring pages using online tools and software. This can be a fun way to personalize your art and experiment with different styles and techniques.
So, pick a project that sparks your interest, dive into the code, and don't be afraid to experiment. The possibilities are endless, and the only limit is your imagination.