Refine Your Design Process with these Prototyping Methods
This listicle presents seven key prototyping methods to enhance your design process. Learn how different techniques, from paper prototyping to virtual reality, can be used to test and refine your ideas. Effective prototyping methods are crucial for gathering user feedback, identifying potential issues early, and ultimately building better products. Whether you're a seasoned developer or just starting out, exploring these methods will help you choose the right approach for your next project. Discover how each technique contributes to a more efficient and informed design workflow in 2025.
1. Paper Prototyping
Paper prototyping is a low-fidelity prototyping method that involves creating hand-drawn representations of user interfaces (UIs) to test and refine designs early in the development process. Designers sketch screens, buttons, menus, and other UI elements on paper, then manipulate these elements to simulate user interactions during testing sessions. This hands-on approach allows teams to quickly visualize concepts, gather feedback, and iterate designs without investing significant time or resources in digital development, making it a valuable tool among prototyping methods.
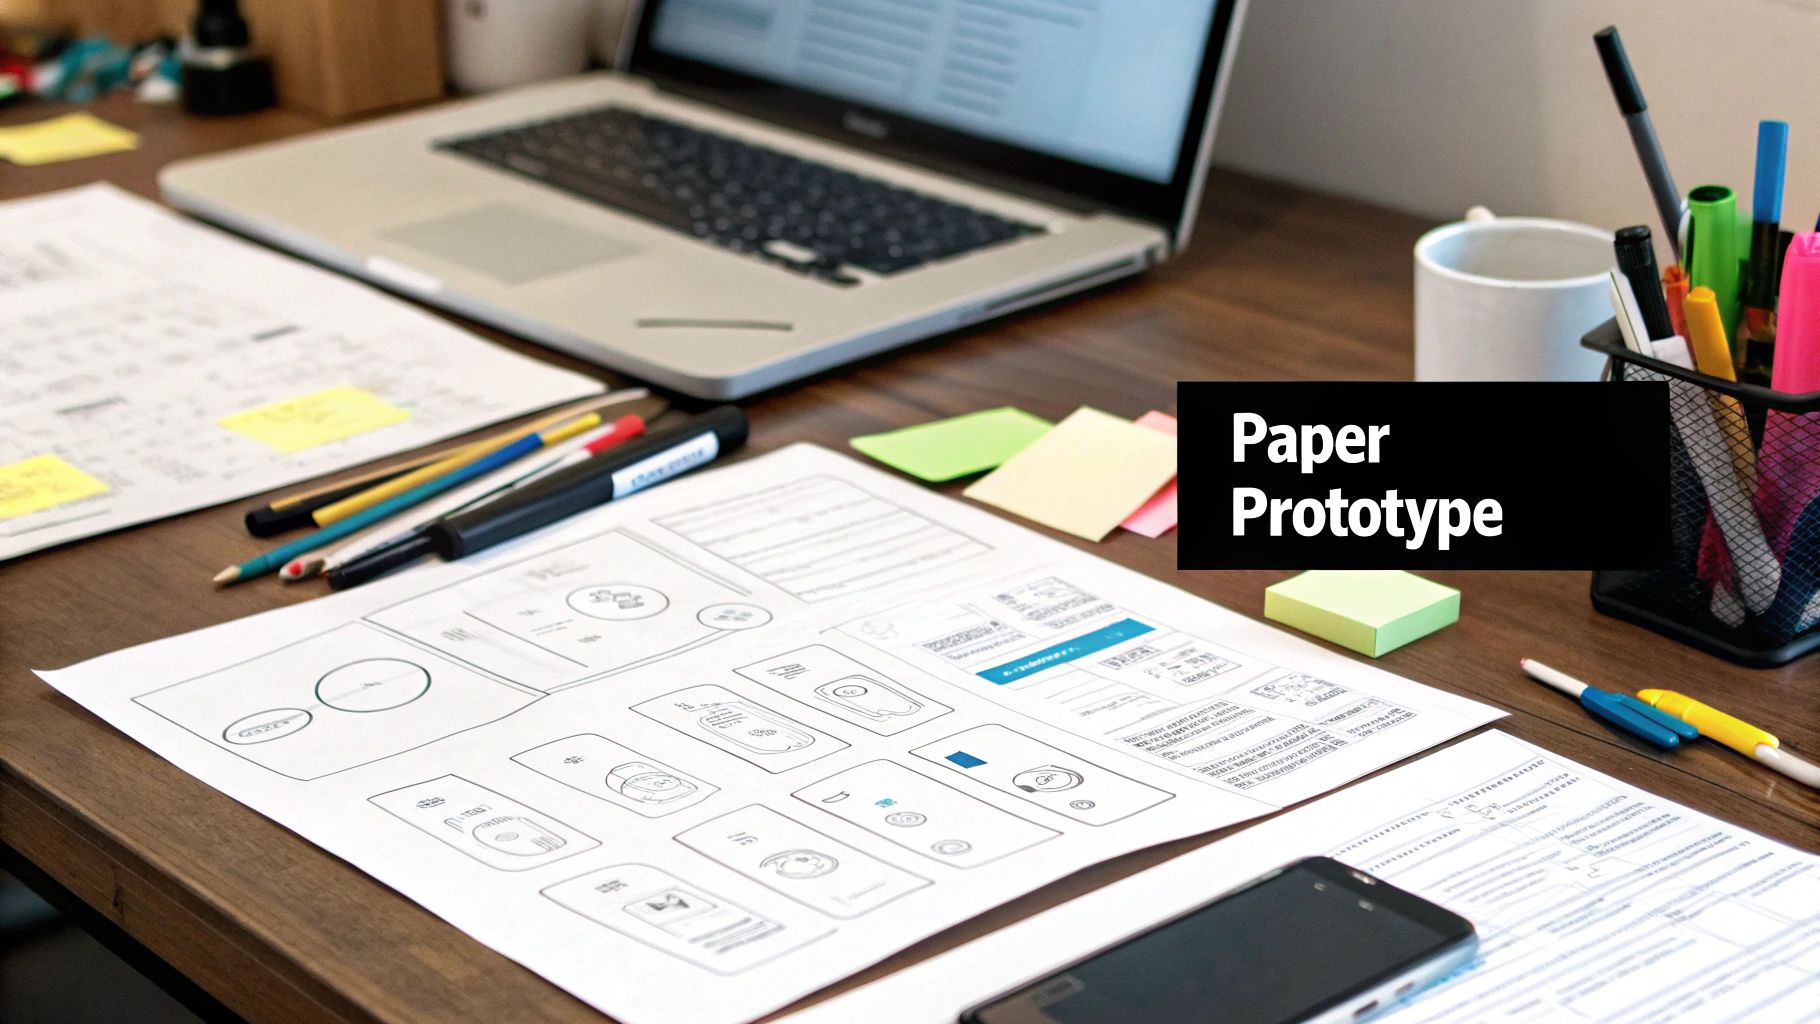
This extremely low-tech approach utilizes readily available materials like paper, pens, sticky notes, and scissors. Its simplicity makes it highly accessible to all team members, regardless of technical skills. The tactile nature of paper prototyping fosters collaborative design, allowing stakeholders to easily contribute and experiment with different UI layouts and interaction flows. This method is particularly effective in the early stages of a project, facilitating quick iterations and preventing premature attachment to polished designs. Notable examples of successful implementation include IBM's use of paper prototyping in developing its early operating systems, IDEO's regular employment of this method in their human-centered design process, and Google's initial exploration of Material Design concepts using paper prototypes.
Features of Paper Prototyping:
- Hand-drawn UI elements on paper
- Physical manipulation to simulate interactions
- Extremely low-tech approach requiring minimal materials
- Facilitates collaborative design through simple tools
Pros:
- Inexpensive and requires minimal resources: All you need is paper and pen!
- Extremely quick to create and modify: Changes can be implemented instantly.
- Accessible to team members without technical skills: Everyone can participate.
- Encourages creativity without software limitations: Free from the constraints of digital tools, fostering out-of-the-box thinking.
- Reduces attachment to designs, making iteration easier: The disposable nature of paper prototypes makes it psychologically easier to discard and refine ideas.
Cons:
- Limited interactivity compared to digital prototypes: Cannot accurately represent complex functionalities.
- Difficult to simulate complex animations or transitions: Focus remains on basic interactions.
- Can be cumbersome to manage multiple screens for complex flows: Organization becomes crucial for larger projects.
- May not accurately represent the final digital experience: Visual fidelity is limited.
- Storage and preservation of prototypes can be challenging: Documentation through photography is essential.
Tips for Effective Paper Prototyping:
- Use sticky notes: For representing interactive elements that change state or position.
- Prepare multiple versions of screens: To demonstrate different states or branches in user flows.
- Use a smartphone camera: To document iterations, capture feedback, and create rudimentary animations.
- Have one team member act as the 'computer': This person manipulates the prototype based on user actions during testing, providing responses and changing screens as needed.
- Create a paper frame to represent the device screen: This provides context and realistic constraints for the design.
When and Why to Use Paper Prototyping:
Paper prototyping is ideal in the early stages of design, particularly for:
- Exploring initial concepts and layouts: Quickly visualize and iterate on different UI ideas.
- Testing basic user flows and interactions: Validate navigation and core functionality.
- Gathering early feedback from stakeholders: Engage users and identify potential usability issues before investing in development.
- Collaborative brainstorming and design sessions: Facilitate a shared understanding and encourage participation from all team members.
Paper prototyping deserves its place on this list of prototyping methods because it offers an unparalleled combination of speed, accessibility, and affordability. It allows teams to rapidly explore and refine UI designs in a tangible and collaborative way, ensuring user-centered design principles are applied from the very beginning. For anyone involved in UI/UX design, from aspiring vibe coders to experienced software developers, paper prototyping is a fundamental technique that should be part of their toolkit.
2. Digital Wireframing
Digital wireframing is a crucial prototyping method within the broader spectrum of prototyping methods, offering a medium-fidelity approach to designing user interfaces (UIs). It involves creating simplified, schematic representations of a product's interface, focusing on structure, layout, and information hierarchy rather than visual aesthetics like color or typography. Think of it as the blueprint for your UI, allowing you to plan the arrangement of elements and the overall information architecture before diving into the more visually intensive stages of design or development. This method enables designers to quickly experiment with different layouts, navigation flows, and content organization, ensuring a solid foundation before investing time and resources into high-fidelity mockups or code.
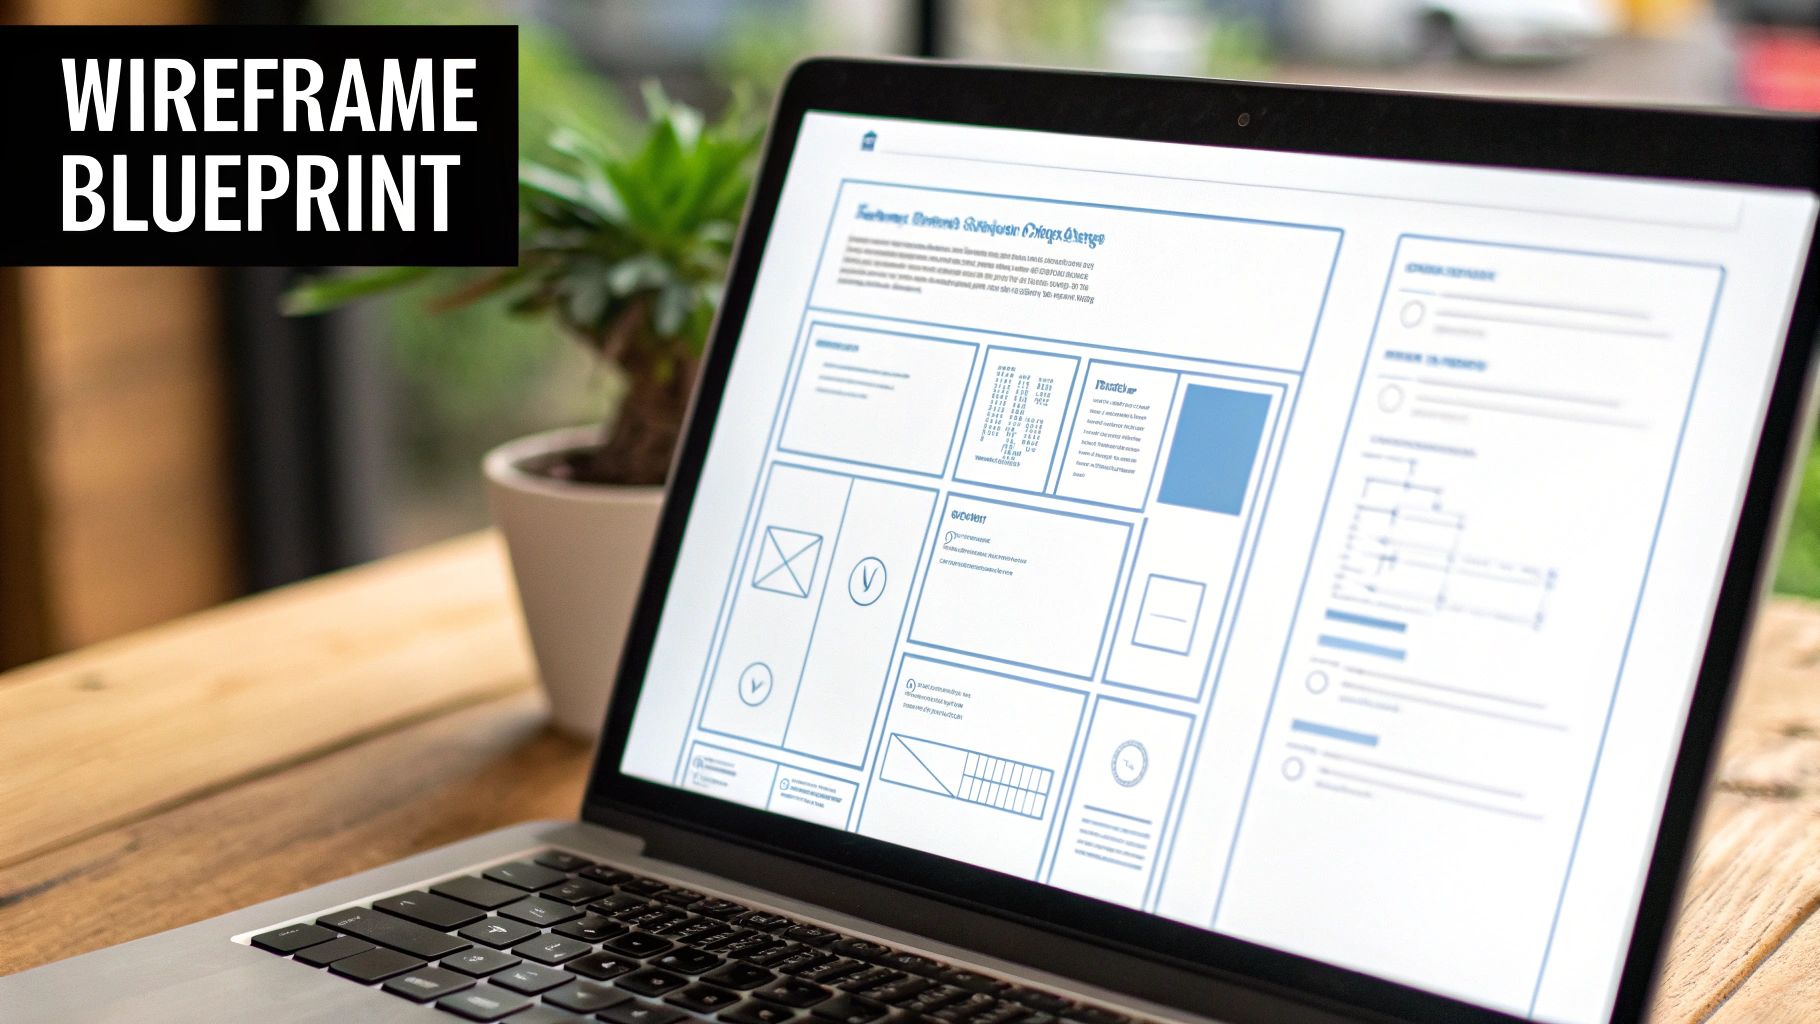
Digital wireframes typically appear as grayscale or black and white representations, ranging from basic outlines to more detailed schematics. Their creation relies on specialized digital tools like Figma, Sketch, or Adobe XD, enabling precise layouts and reusable elements. Learn more about Digital Wireframing. This digital approach differentiates them from paper prototyping and offers several advantages. For example, they are easily shareable with stakeholders, facilitating collaborative feedback and iterative design. Furthermore, creating component libraries within these tools allows for reusable elements across multiple screens, promoting design consistency and saving valuable time. Digital wireframes also serve as clear documentation of layout decisions, providing a valuable reference point throughout the project lifecycle.
Companies like Twitter, The New York Times, and Airbnb have leveraged the power of digital wireframing for major redesigns and feature development. Twitter's large-scale UI overhauls often begin with extensive wireframing sessions to map out user flows and information architecture. Similarly, the complex website architecture of The New York Times was meticulously planned using detailed wireframes. Airbnb’s seamless booking flow, a key element of their user experience, was also refined through iterative wireframing.
Pros:
- Precision: Offers more precise layout control compared to paper prototyping.
- Collaboration: Easy to share and collaborate on with stakeholders.
- Reusability: Component libraries promote consistency and efficiency.
- Documentation: Provides clear documentation of design decisions.
- Speed: Relatively quicker to create than high-fidelity mockups.
Cons:
- Visual limitations: The lack of visual design can make it difficult for some stakeholders to grasp the final look and feel.
- Software dependency: Requires specialized software and some level of proficiency.
- Limited interactivity: Typically static with minimal interactive elements.
- Potential for misinterpretation: Can sometimes be mistaken for the final design.
Tips for effective digital wireframing:
- Start simple: Begin with low-fidelity wireframes to establish the basic structure, then gradually increase detail.
- Grid systems: Utilize grid systems for consistent and visually appealing layouts.
- Annotations: Include annotations to explain functionality, interactions, and user flows.
- Component libraries: Create reusable component libraries for efficient design.
- Real content: Use real content whenever possible instead of placeholder text for a more accurate representation of the final product.
Digital wireframing deserves its place on this list of prototyping methods because it bridges the gap between low-fidelity sketches and high-fidelity mockups. It provides a structured, efficient way to define the user interface architecture and interaction design before committing significant resources to visual design and development. Whether you're an aspiring vibe coder, an experienced developer, or a digital artist, understanding and implementing digital wireframing can significantly improve your design process and lead to more user-centered products.
3. Interactive Prototyping
Interactive prototyping is a powerful method within the broader spectrum of prototyping methods. It involves creating dynamic, clickable models of a product's user interface (UI) and user experience (UX). These prototypes go beyond static mockups by simulating user interactions and system responses, allowing users to navigate through screens, click on elements, and experience flows similar to the final product. This hands-on approach provides invaluable insights into the design and functionality before any actual code is written. Interactive prototypes can range from medium to high fidelity, incorporating animations, transitions, and even conditional logic to create a realistic user experience for testing and demonstration purposes.
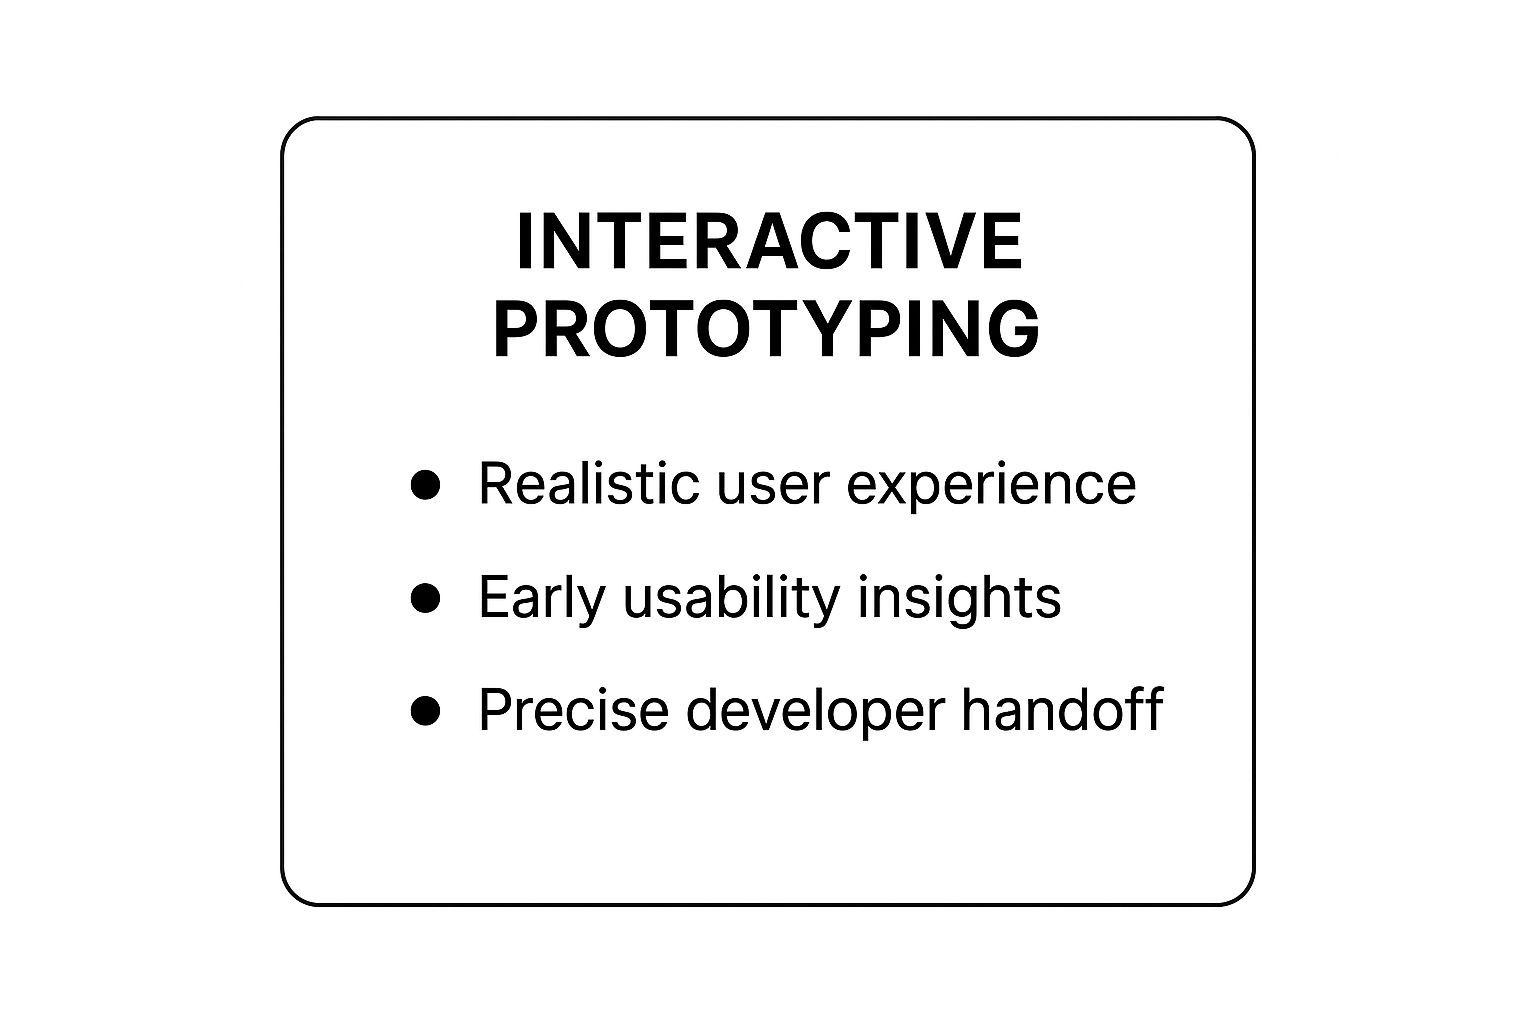
The infographic above summarizes the key benefits and considerations for interactive prototyping. It highlights the balance between the increased realism and user feedback it provides, against the greater time and resource investment it requires compared to lower-fidelity methods. Understanding these trade-offs is crucial for choosing the right prototyping method for your project.
This approach allows designers and developers to identify and address usability issues early in the development process, saving time and resources in the long run. Imagine being able to click through a near-functional version of a new app, experiencing the navigation and interactions, before a single line of code has been written. This is the power of interactive prototyping. Key features include clickable elements, screen navigation, conditional logic, animations, and varying levels of visual detail. This flexibility allows for rapid iteration and refinement based on user feedback.
Several companies leverage interactive prototyping to refine their products. Facebook, for instance, routinely tests new features with interactive prototypes before rolling them out to its massive user base. Similarly, Spotify used this method to perfect their mobile listening experience, ensuring a seamless and intuitive interface for millions of music lovers. Netflix also extensively prototyped and tested its recommendation system UI interactively, contributing to its highly personalized user experience.
Here are some actionable tips for successful interactive prototyping:
- Start with core user flows: Focus on the primary user journeys before adding secondary interactions.
- Component-based approach: Build reusable components to improve efficiency and maintain consistency.
- Early and frequent user testing: Test with real users throughout the process to gather valuable feedback.
- Avoid over-polishing: Don't spend too much time on visual details in early testing prototypes.
- Document interaction specifications: Clearly document the intended behavior of the prototype for developers.
Pros of Interactive Prototyping:
- Realistic User Experience: Provides a tangible experience for effective user testing and feedback.
- Clear Communication: Effectively communicates interaction design concepts to stakeholders.
- Early Issue Detection: Identifies usability problems early in the development cycle.
- Developer Reference: Serves as a precise specification for developers.
- Stakeholder Buy-in: Facilitates compelling presentations and secures stakeholder support.
Cons of Interactive Prototyping:
- Time Investment: More time-consuming than low-fidelity methods.
- Specialized Skills: Requires specific software proficiency.
- Premature Detailing: Can lead to focusing on details over core functionality.
- Timeline Misconceptions: May create unrealistic expectations about development speed.
- Labor-Intensive Updates: Changes and revisions can be time-consuming.
Interactive prototyping is particularly valuable when designing complex interactions, validating user flows, and securing stakeholder buy-in. It's an essential tool for anyone involved in product development, from aspiring vibe coders to experienced software developers, digital artists, educators, and entrepreneurs. Learn more about Interactive Prototyping to explore specific tools and techniques for creating your own interactive prototypes. This method deserves its place amongst prototyping methods because it bridges the gap between static design and functional development, leading to more user-centered and successful products.
4. 3D Printing
3D printing, a revolutionary prototyping method within the broader category of additive manufacturing, empowers creators to bring digital designs into the physical realm. It works by building three-dimensional objects layer by layer from a digital model, using materials like plastics, resins, and even metals. This additive approach allows for rapid iteration and testing of form, fit, and function, making it an invaluable tool for various applications, especially in product and industrial design. 3D printing seamlessly bridges the gap between digital creation and tangible realization, facilitating a hands-on evaluation process crucial for prototyping methods.
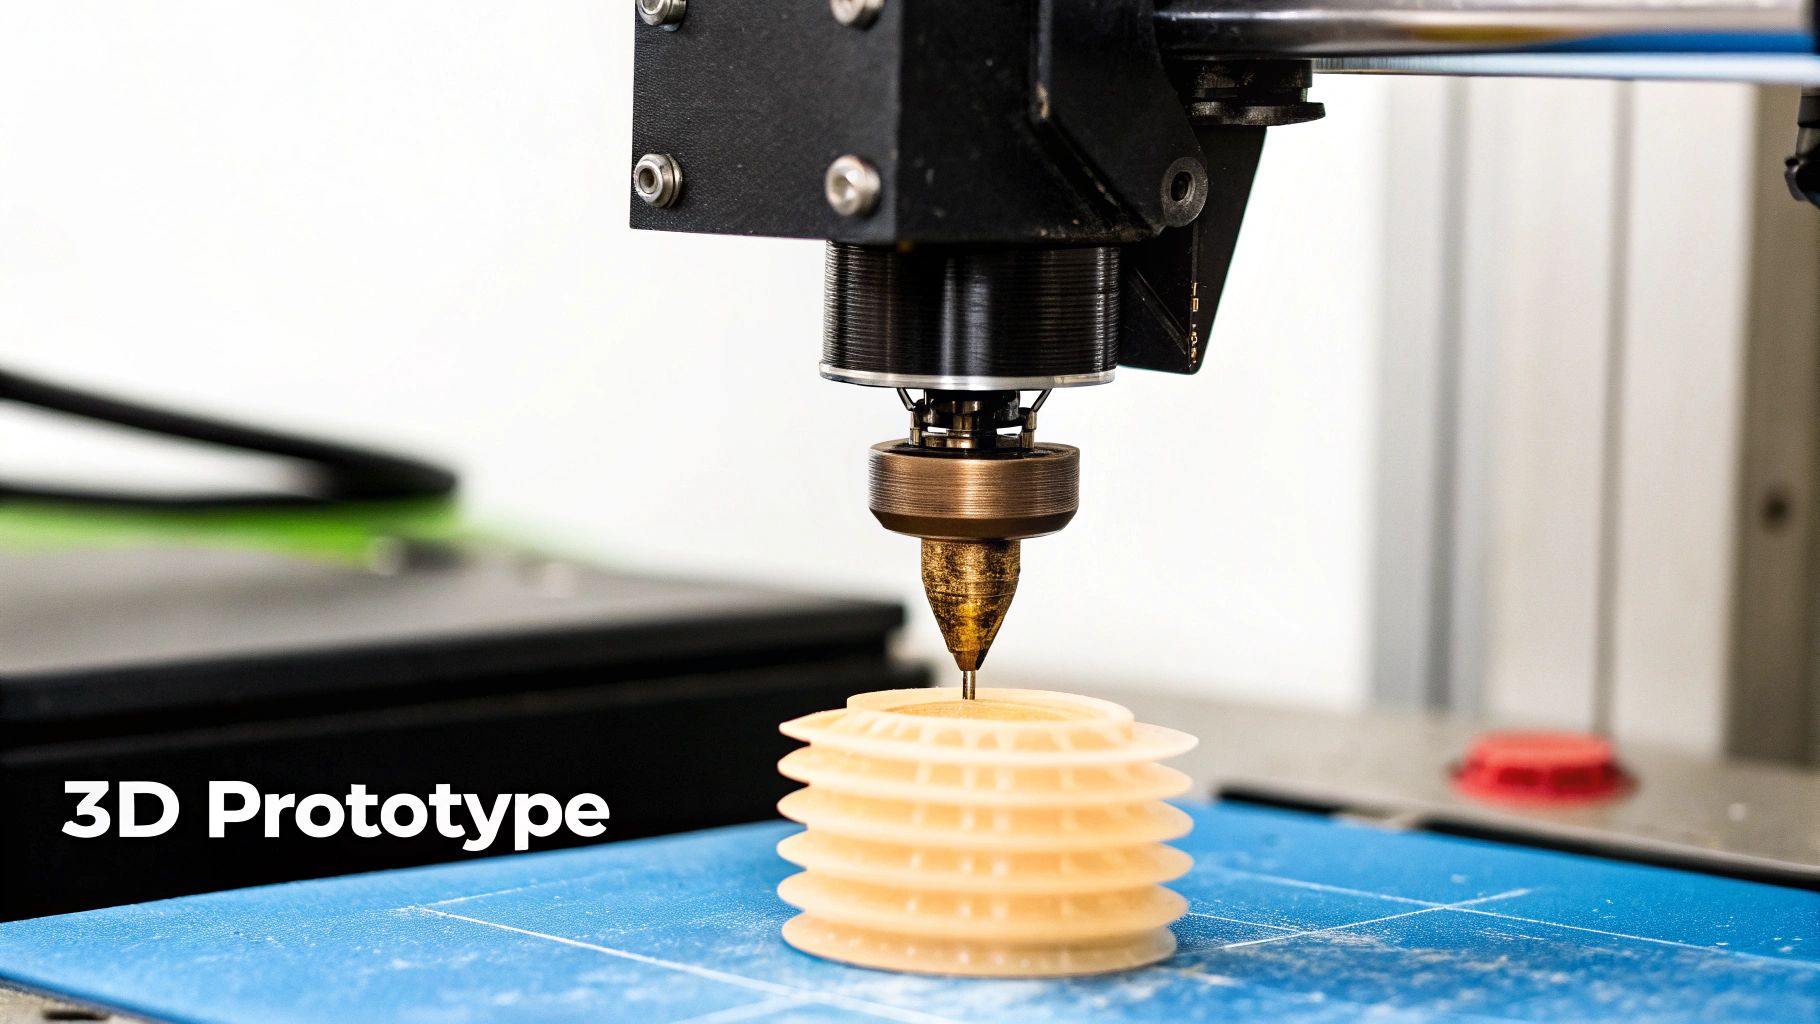
The key features of 3D printing include its layer-by-layer construction process, the wide array of available materials, and various printing technologies such as Fused Deposition Modeling (FDM), Stereolithography (SLA), and Selective Laser Sintering (SLS), each suited for different applications. The ability to create complex geometries, often difficult or impossible to achieve through traditional subtractive manufacturing methods, is a standout advantage. This digital workflow, directly from CAD model to physical object, streamlines the prototyping process significantly. Learn more about 3D Printing
This technique earns its place among top prototyping methods due to several compelling benefits. It significantly reduces the time from design conception to a tangible prototype, enabling rapid testing of ergonomics and physical interactions. This accelerated iteration cycle fuels innovation and allows designers to refine their creations quickly and efficiently. 3D printing is also economical for one-off or small batch production, making it an attractive option for early-stage prototyping and experimentation. Furthermore, it can create functional parts for testing, moving beyond mere form and fit to assess actual performance.
Real-world examples highlight the impact of 3D printing. BMW utilizes it for rapidly prototyping automotive parts, speeding up their design and development processes. GE Aviation has leveraged 3D printing to develop and test fuel nozzles for jet engines, pushing the boundaries of aerospace engineering. Even consumer products like the Adidas Futurecraft 4D shoes showcase the technology, featuring 3D-printed midsoles extensively prototyped for optimal performance and comfort.
While offering numerous advantages, 3D printing also has limitations. Material properties achievable with 3D printing may not match those of final production methods. High-fidelity printers capable of producing intricate details and smooth surfaces can be expensive. Post-processing, such as support removal, sanding, and finishing, is often necessary, adding time and effort to the workflow. The build volume of the printer limits the size of printable objects, and the final product may not fully represent the quality and durability achievable with mass production techniques.
To maximize the effectiveness of 3D printing for prototyping, consider these tips: Design with the limitations of 3D printing in mind, paying attention to overhangs and support structures. For larger designs, consider splitting them into smaller, assemblable components. Experiment with different print orientations to optimize strength and surface finish. Adjust infill density based on the desired structural properties. Finally, incorporate test features into your designs to verify critical dimensions and tolerances.
Pioneered by innovators like Chuck Hull (inventor of stereolithography), Josef Prusa (Prusa Research), MakerBot Industries, and Formlabs, 3D printing continues to evolve, offering increasingly accessible and powerful tools for prototyping across diverse industries. From aspiring vibe coders and software developers to digital artists, educators, and entrepreneurs, 3D printing democratizes access to rapid prototyping, fostering innovation and empowering creators to bring their ideas to life.
5. Wizard of Oz Prototyping
Wizard of Oz prototyping is a powerful prototyping method, earning its place among essential techniques for anyone involved in software development, UX/UI design, or creating innovative digital products. It allows you to test and iterate on complex system interactions long before investing in the technical development required to actually build them. This makes it a valuable tool for aspiring vibe coders, experienced software developers, digital artists, creative technologists, educators, students, entrepreneurs, and hobbyists alike. Imagine testing a voice-controlled smart home system or a complex AI-powered chatbot without writing a single line of code – that's the magic of Wizard of Oz prototyping.
How It Works: The Illusion of Functionality
This prototyping method hinges on creating an illusion of a fully functional system, while a human operator works behind the scenes to manually generate the system's responses. Users interact with what they believe is an automated system, unaware that a human "wizard" is pulling the levers. This allows for testing of complex interactions, particularly those involving artificial intelligence, voice interfaces, or intricate user flows, without needing to build the underlying technology first.
When to Use Wizard of Oz Prototyping:
This method is especially useful when:
- Developing AI-powered systems: Test user interactions with conversational interfaces, recommendation engines, and other AI-driven features before training complex algorithms.
- Designing voice user interfaces: Refine voice commands, dialogue flows, and error handling for voice assistants and other voice-controlled systems.
- Exploring complex user journeys: Simulate intricate workflows and interactions that would require significant development effort to build in a functional prototype.
- Evaluating new interaction paradigms: Experiment with novel input methods, like gesture control or brain-computer interfaces, before investing in hardware or software.
Features and Benefits:
- Human Simulation: Leverage human intelligence and adaptability to simulate system behavior.
- Early Validation: Gather crucial user feedback early in the design process, saving time and resources.
- Focus on User Experience: Concentrate on the user's interaction with the system without being bogged down by technical limitations.
- Flexibility: Easily adapt and modify system responses in real-time during testing sessions, based on user behavior.
Pros:
- Cost-effective in early stages: Avoids expensive and time-consuming development of complex features.
- Ideal for complex systems: Perfect for testing AI, voice, and other interactive functionalities.
- Uncovers user expectations: Provides insights into how users expect intelligent systems to behave.
- Rapid iteration: Allows for quick adjustments and refinements based on user feedback.
Cons:
- Labor intensive: Requires dedicated operators during testing sessions.
- Potential inconsistency: Different operators might respond differently to the same user input.
- Scalability issues: Difficult to simulate responses for multiple simultaneous users.
- Unrealistic expectations: Users might form unrealistic expectations about the final system's capabilities.
- Ethical considerations: Transparency about the method is important to address ethical concerns related to deception.
Examples of Successful Implementation:
- IBM utilized Wizard of Oz methods to test early voice assistant concepts, paving the way for more advanced voice interaction systems.
- Amazon refined Alexa's conversation patterns and responses using this technique before deploying its full AI capabilities.
- Google's early explorations of search assistant features benefited from the insights gained through Wizard of Oz prototyping.
Actionable Tips for Effective Wizard of Oz Prototyping:
- Develop clear guidelines: Create detailed response guidelines for operators to ensure consistency.
- Simulate realistic limitations: Practice timing and introduce realistic system limitations to manage user expectations.
- Consider multiple operators: For complex functionalities, having multiple operators can enhance the simulation.
- Record sessions: Record testing sessions for later analysis of user behavior and operator responses.
- Debrief users: After testing, explain the method to users and gather additional feedback.
Popularized By:
The technique has been documented by Jeff Kelley and the term was coined by John F. Kelley in 1984. Apple used this method in their early testing of Siri, and the Stanford HCI research group has also contributed to its development and application.
By effectively utilizing Wizard of Oz prototyping as a prototyping method, you can gain valuable insights into user behavior, refine complex interactions, and validate your design concepts before investing heavily in technical development. This approach ensures that your final product aligns with user expectations and delivers a truly engaging and intuitive experience.
6. Video Prototyping
Video prototyping stands out among prototyping methods for its unique ability to showcase the user experience in a dynamic and engaging way. It involves creating short videos or animations to demonstrate how a product, service, or experience would function in a real-world context. This method leverages the power of storytelling and visual narrative to convey the user journey, interactions, and overall value proposition of a concept, especially beneficial when dealing with complex ideas that are difficult to illustrate with static images or even interactive prototypes. This makes it a powerful tool in the arsenal of any aspiring vibe coder, experienced software developer, digital artist, creative technologist, educator, student, entrepreneur, or hobbyist.
Video prototyping excels at communicating the vision behind a product and the context of its use, particularly for experiences that unfold over time. This is achieved by incorporating elements like environment, user scenarios, and sequential interactions. Imagine showcasing a futuristic AR interface – a video prototype could seamlessly blend live action with motion graphics or animation to bring this vision to life in a way that static prototyping methods simply can't. This is why video prototyping deserves its place amongst essential prototyping methods.
Features of Video Prototyping:
- Narrative-driven demonstration: Focuses on storytelling to convey the user experience.
- Flexibility in production: Can range from simple screen recordings to elaborate productions incorporating actors and custom sets.
- Contextual richness: Incorporates context, environment, and realistic user scenarios.
- Temporal representation: Clearly shows temporal aspects and sequential interactions.
- Multimedia integration: Often combines live action with motion graphics or animation.
Pros:
- Effective communication: Communicates vision and context effectively to stakeholders, clients, and potential users.
- Dynamic experience demonstration: Demonstrates experiences that unfold over time, including complex interactions and user flows.
- Visualization of the impossible: Can show concepts impossible to prototype physically, like futuristic technology or abstract interactions.
- Enhanced collaboration: Shareable format ideal for remote collaboration and feedback gathering.
- Early marketing potential: Useful for marketing concepts before development to gauge interest and generate excitement.
Cons:
- Lack of interactivity: Non-interactive, preventing direct user testing and feedback on usability.
- Resource intensive: Can be resource-intensive to produce high-quality videos, requiring specialized skills and equipment.
- Potential for misrepresentation: May create unrealistic expectations about feasibility and final product functionality.
- Difficult to iterate: Difficult to modify quickly compared to other prototyping methods, potentially slowing down the iterative design process.
- Technical skill requirement: Requires video production skills and equipment, potentially increasing the barrier to entry.
Examples of Successful Video Prototyping:
- Google's Material Design introduction videos effectively communicate the design language's principles and visual style.
- Microsoft's vision for future productivity concept videos showcase potential applications of emerging technologies.
- Apple's product introduction videos that showcase user scenarios demonstrate product features within real-world contexts.
- IDEO's design concept videos for clients like PillPack effectively convey the value proposition and user experience of their designs.
Tips for Effective Video Prototyping:
- Storyboard: Start with a storyboard to plan the narrative flow and key scenes.
- Focus on key features: Focus on 1-3 key features rather than trying to document everything.
- Use annotations: Use simple annotations to explain complex interactions or functionalities.
- Combine real footage with mockups: Consider combining real footage with screen mockups or overlays to represent digital interfaces.
- Keep it concise: Keep videos short (under 3 minutes) to maintain viewer engagement.
Popularized By:
Pioneers like Bruce Tognazzini (early Apple HCI expert), the Cooper design agency's use of scenario videos, Microsoft's Future Vision series, and IDEO's human-centered design process have all contributed to the popularization and refinement of video prototyping as a valuable design tool.
By carefully considering the pros and cons and following these tips, video prototyping can be a highly effective prototyping method for communicating your vision and bringing your ideas to life. It allows you to go beyond static representations and showcase the dynamic nature of the user experience, making it a powerful tool for anyone involved in the design and development process.
7. Virtual Reality Prototyping
Virtual Reality (VR) prototyping stands out as a cutting-edge method among various prototyping methods, offering a powerful way to create immersive, interactive simulations of products, spaces, and experiences. This method leverages computer-generated environments viewed through specialized headsets, allowing users to step inside and interact with virtual prototypes at real-world scale. This provides invaluable insights into design and functionality before committing to costly physical production.
How it Works:
VR prototyping involves creating a 3D model of the product or space within a VR development platform like Unity or Unreal Engine. Users then don a VR headset, such as an Oculus Rift or HTC Vive, and enter the virtual environment. Inside, they can explore the prototype from any angle, manipulate virtual objects, and even experience simulated physics and environmental factors. Spatial audio and haptic feedback can further enhance the sense of immersion, creating a remarkably realistic experience.
Examples of Successful Implementation:
Several companies are leveraging the power of VR prototyping:
- Ford: Utilizes VR to refine car designs and interiors, enabling designers to evaluate ergonomics, aesthetics, and spatial relationships before building physical prototypes.
- IKEA: Offers virtual kitchen planning experiences, allowing customers to "walk through" and customize their dream kitchens in VR before making purchasing decisions.
- Architectural Firms: Employ VR to give clients immersive walkthroughs of building designs, facilitating better communication and design feedback.
- Boeing: Uses VR for aircraft maintenance training simulations, providing a safe and cost-effective way for technicians to practice complex procedures.
When and Why to Use VR Prototyping:
VR prototyping is particularly valuable in the following situations:
- Large-scale or complex projects: Where physical prototyping would be prohibitively expensive or time-consuming.
- Testing user experience in context: VR allows for evaluating designs in realistic scenarios, providing a richer understanding of user behavior.
- Simulating dangerous or impossible-to-recreate scenarios: VR enables safe and controlled testing of products in extreme or hazardous environments.
- Iterative design process: Changes can be implemented quickly and easily in the virtual environment, facilitating rapid prototyping and experimentation.
Features and Benefits:
- Immersive 3D environments: Offers a truly experiential way to evaluate designs.
- Real-scale representation: Allows for accurate assessment of size and spatial relationships.
- Interactive manipulation: Enables users to engage with the prototype in a natural and intuitive way.
- Spatial audio and sensory feedback: Enhances the sense of realism and immersion.
- Simulation of diverse contexts and scenarios: Facilitates comprehensive testing and evaluation.
Pros:
- Experience products at actual scale before physical production.
- Test dangerous or impossible-to-recreate scenarios.
- Modify designs quickly compared to physical prototypes.
- Cost-effective for large-scale or complex environments.
- Provides immersive context for more realistic user testing.
Cons:
- Requires specialized hardware and software skills.
- May cause motion sickness or discomfort for some users.
- Lacks tactile feedback of physical prototypes.
- High-quality VR development can be resource-intensive.
- Hardware limitations may affect realism or interaction fidelity.
Tips for Effective VR Prototyping:
- Begin with simplified environments to reduce development time.
- Consider movement and navigation carefully to minimize user discomfort.
- Use existing 3D assets and game engines to accelerate development.
- Plan for multiple users/observers with shared viewing options.
- Supplement VR testing with other prototyping methods to compensate for the lack of tactile feedback.
Popularized By:
Key players in the development and popularization of VR prototyping include Oculus (Meta) VR platform, HTC Vive, Unity and Unreal Engine development platforms, Autodesk for architectural visualization, and pioneers like Thomas Zimmerman and Jaron Lanier.
VR prototyping deserves its place in any list of prototyping methods because it offers a unique and powerful way to bridge the gap between concept and reality. Its ability to create immersive, interactive experiences provides invaluable insights into design and functionality, ultimately leading to better products and more informed decision-making. While there are some limitations to consider, the benefits of VR prototyping make it an increasingly essential tool for designers, engineers, and innovators across various industries.
Prototyping Methods Comparison Overview
| Method | Implementation Complexity 🔄 | Resource Requirements ⚡ | Expected Outcomes 📊 | Ideal Use Cases 💡 | Key Advantages ⭐ |
|---|---|---|---|---|---|
| Paper Prototyping | Very low 🔄 | Minimal materials, no software ⚡ | Quick feedback on layout and basic flows 📊 | Early concept validation, team collaboration, low-tech environments | Low cost, fast iteration, accessible ⭐ |
| Digital Wireframing | Low to moderate 🔄 | Digital tools/software, moderate skills ⚡ | Clear UI structure and info hierarchy 📊 | UI blueprinting, early-stage digital design planning | Precise layouts, easy sharing, reusable ⭐ |
| Interactive Prototyping | Moderate to high 🔄 | Specialized software, design skills ⚡ | Realistic user interactions for testing 📊 | Usability testing, stakeholder demos, complex interactions | Realistic testing, early usability insights ⭐ |
| 3D Printing | Moderate to high 🔄 | 3D printer hardware, CAD modeling ⚡ | Physical prototypes for ergonomics/form 📊 | Product design, industrial prototypes, physical fit/function tests | Fast physical iteration, functional parts ⭐ |
| Wizard of Oz Prototyping | High 🔄 | Human operators, controlled testing setup ⚡ | Simulated advanced system behavior 📊 | AI systems, voice interfaces, unbuilt complex functionality | Tests complex features early, flexible ⭐ |
| Video Prototyping | Moderate 🔄 | Video production tools and skills ⚡ | Visual storytelling, concept communication 📊 | Vision demos, context-driven user journeys, marketing concepts | Engaging narrative, shows temporal flow ⭐ |
| Virtual Reality Prototyping | High 🔄 | VR hardware, development software, skills ⚡ | Immersive 3D experience and spatial testing 📊 | Architecture, large-scale design, immersive training simulations | Real-scale experience, tests impossible scenarios ⭐ |
Elevate Your Prototyping Skills
From the simplicity of paper prototyping to the immersive experience of virtual reality, the diverse range of prototyping methods explored in this article offers a powerful toolkit for bringing your ideas to life. We've covered everything from digital wireframing, ideal for quickly visualizing user flows, to interactive prototyping, which allows for testing user interactions, and even the tangible realism of 3D printing. Each method, including Wizard of Oz prototyping and video prototyping, plays a unique role in the design process, offering distinct advantages depending on the project's needs.
Key takeaways include understanding the strengths and weaknesses of each prototyping method and recognizing the importance of selecting the right tool for the job. Whether you're crafting a basic mobile app or designing a complex virtual environment, the chosen method should align with your project goals, budget, and timeline.
To truly elevate your prototyping skills, take these next steps:
- Experiment: Don't be afraid to try different prototyping methods. Hands-on experience is the best way to understand the nuances of each technique.
- Iterate: Prototyping is an iterative process. Gathering feedback throughout the prototyping process is crucial for iterative improvement. Leveraging a structured approach, like the product feedback loop from Saylo, can significantly enhance this process and lead to more refined and user-centered designs.
- Explore: Continuously explore new prototyping tools and technologies. The landscape is constantly evolving, offering new and exciting ways to visualize and test your creations. For those interested in pushing the boundaries of interaction design, delving into the world of vibe coding and exploring resources like Vibecoding VIP can unlock innovative approaches.
Mastering these prototyping methods is more than just a technical skill; it's a crucial step in transforming concepts into tangible experiences. By embracing these techniques, you empower yourself to create innovative solutions, refine user experiences, and ultimately, build better products in 2025 and beyond. So, pick your tools, embrace experimentation, and let your creativity flourish.