Level Up Your Vibe Coding with Rapid Prototyping
Want to transform your vibe coding visions into reality? Rapid prototyping techniques are essential for quickly iterating and refining your designs, whether you're building interactive installations or immersive digital experiences. This listicle dives into ten powerful rapid prototyping techniques, offering actionable insights and best practices for every stage of your creative process. Learn how to choose the right method for your project, from low-fidelity paper mockups to high-fidelity 3D printed models, and accelerate your workflow in 2025.
This guide provides practical, hands-on advice to help you:
- Validate your designs early: Discover how rapid prototyping minimizes costly rework by identifying potential issues early in the development cycle.
- Experiment and iterate faster: Explore different methods to quickly test and refine your concepts, enabling you to push the boundaries of your creations.
- Communicate effectively: Learn how prototypes facilitate clear communication with collaborators, clients, and stakeholders.
- Choose the right tool for the job: Understand the pros and cons of various rapid prototyping techniques, including 3D printing (FDM and SLA), laser cutting, CNC machining, and digital simulations.
- Master essential prototyping skills: Gain valuable knowledge applicable to a wide range of vibe coding projects, from interactive art to game development.
This listicle covers the following rapid prototyping techniques, offering valuable insights for each:
- 3D Printing (Fused Deposition Modeling – FDM)
- Stereolithography (SLA)
- CNC Machining
- Laser Cutting
- Vacuum Casting
- Sheet Metal Fabrication
- Selective Laser Sintering (SLS)
- Injection Molding (Rapid Tooling)
- Paper/Cardboard Prototyping
- Digital Prototyping/CAD Simulation
Ready to accelerate your creative process and bring your vibe coding ideas to life? Let's explore the world of rapid prototyping.
1. 3D Printing (Fused Deposition Modeling – FDM)
Fused Deposition Modeling (FDM) is a widely accessible and versatile rapid prototyping technique. It's the most common type of 3D printing, creating three-dimensional objects by extruding heated thermoplastic filament layer by layer. Think of it like a hot glue gun drawing in three dimensions. The printer head heats the plastic filament, melting it just enough to flow through a nozzle. The nozzle then deposits the molten plastic onto a build platform, following a precise path dictated by your digital design. As each layer cools and solidifies, it bonds with the previous one, gradually building up the final object. This additive process allows for intricate designs and complex geometries, making it ideal for a wide range of prototyping needs.
Examples of FDM in Action
FDM's adaptability has led to its adoption across various industries. Ford utilizes FDM for rapid prototyping of automotive parts, enabling faster design iterations and testing. Medical device companies leverage this technology to create custom surgical guides and implants, offering patient-specific solutions. In aerospace, FDM allows for prototyping lightweight components, pushing the boundaries of aircraft design. Even consumer electronics companies use FDM to create prototypes of phone cases, controllers, and other devices, facilitating rapid development cycles.
Actionable Tips for Effective FDM Printing
To achieve optimal results with FDM printing, consider these practical tips: Optimize layer height based on your desired level of detail. Thinner layers produce finer details but increase print time. Use appropriate infill patterns to balance strength and print speed. A higher infill percentage increases strength but consumes more material and time. Calibrate your print bed leveling to ensure a consistent first layer, preventing adhesion issues. Finally, think strategically about print orientation to minimize the need for support structures. Careful planning in these areas can greatly improve print quality and efficiency.
The following quick-reference infographic summarizes some key aspects of FDM rapid prototyping:
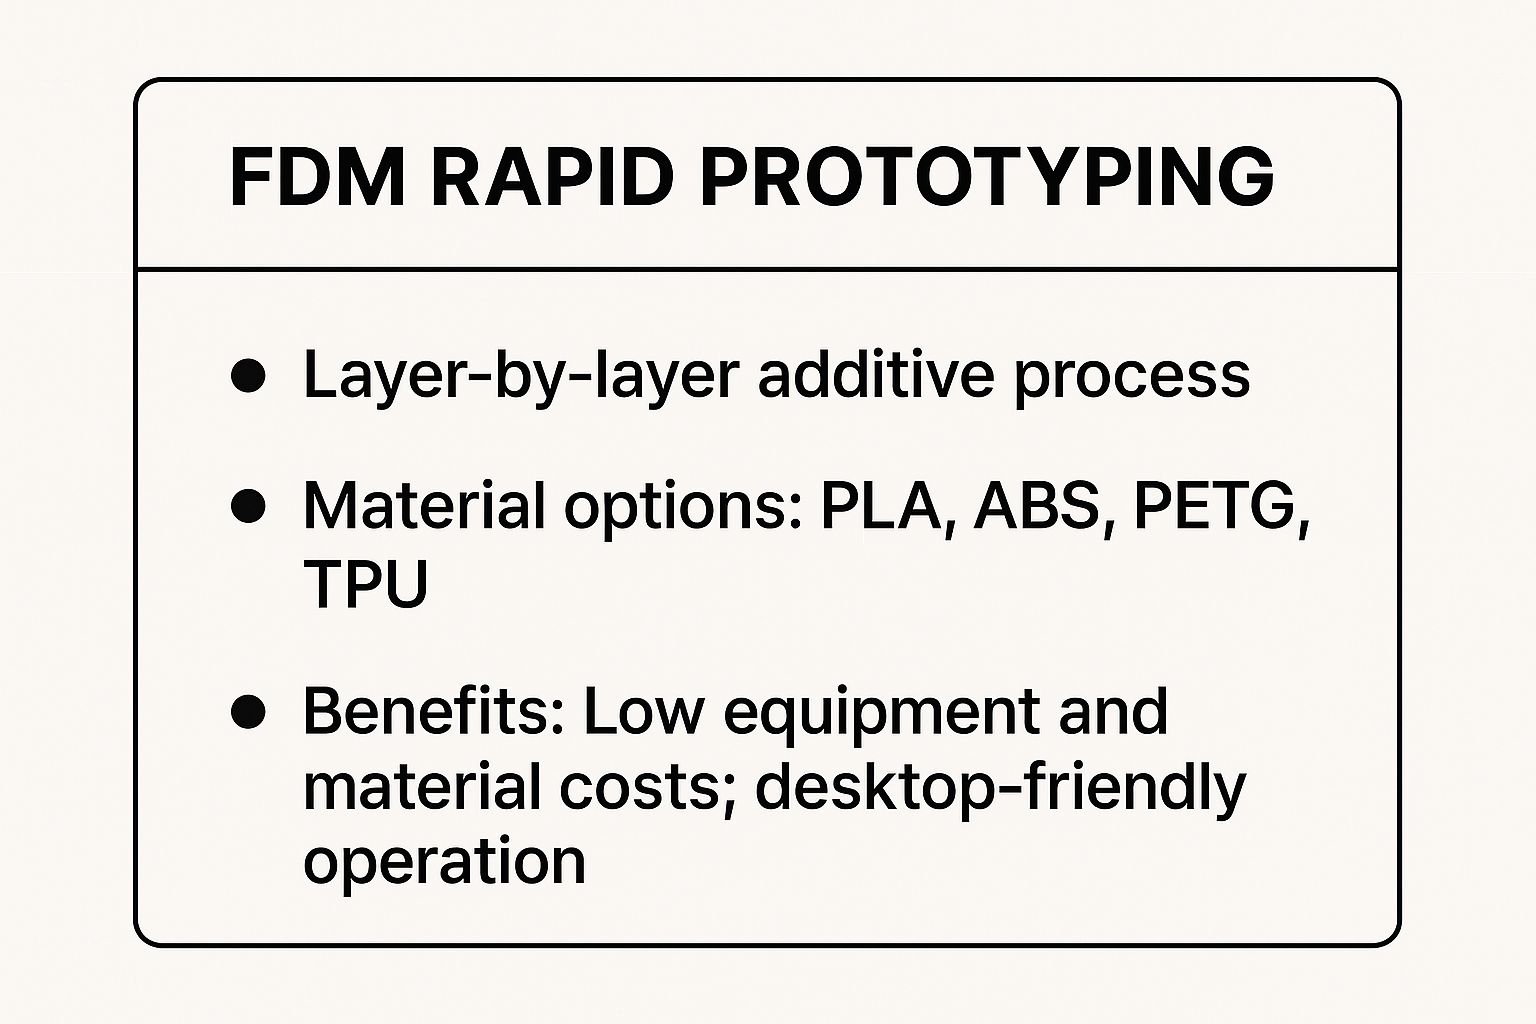
As the infographic highlights, FDM offers a low barrier to entry with relatively affordable equipment and readily available materials like PLA, ABS, PETG, and TPU. The desktop-friendly nature of many FDM printers also makes them accessible for individual makers and small businesses.
When to Choose FDM
FDM is a powerful tool in the rapid prototyping arsenal, particularly when: you need to quickly and affordably create tangible prototypes; you require design flexibility for complex geometries; you're working with a variety of thermoplastic materials; and you prefer a hands-on approach to prototyping. Learn more about 3D printing (Fused Deposition Modeling – FDM) on our site and explore further resources for enhancing your vibe coding projects using FDM. Learn more about…
2. Stereolithography (SLA)
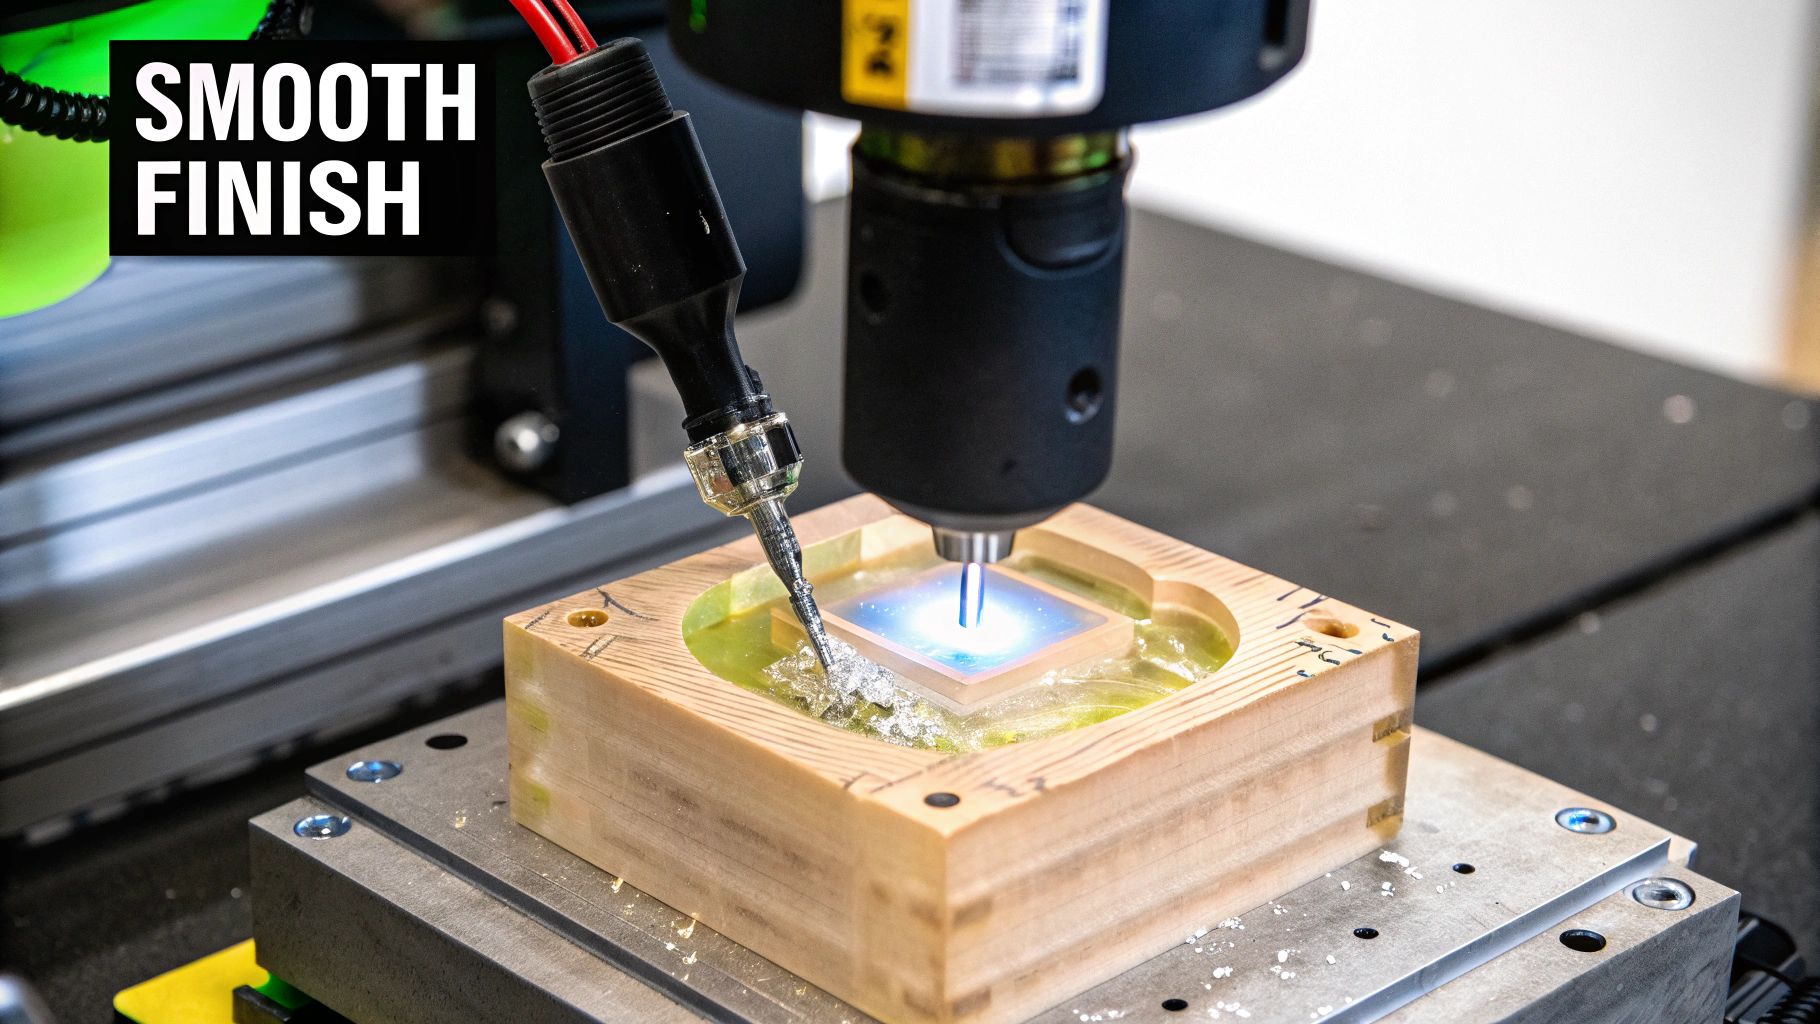
Stereolithography (SLA) is a high-precision rapid prototyping technique that uses a UV laser to cure liquid photopolymer resin layer by layer. Think of it like a tiny, highly accurate laser pointer drawing in a vat of liquid plastic. The laser traces the cross-section of your 3D model on the surface of the resin, solidifying it. The build platform then lowers incrementally, and the laser traces the next layer, bonding it to the previous one. This process repeats until the entire object is formed, resulting in parts with exceptional detail and smooth surface finishes.
Examples of SLA in Action
SLA's precision makes it a favorite for industries requiring fine detail. The jewelry industry utilizes SLA for creating intricate prototypes and casting patterns. Dental professionals leverage it for producing crowns, bridges, and orthodontic models with exceptional accuracy. Miniature gaming enthusiasts benefit from SLA's ability to create highly detailed figures. Even in precision engineering, SLA is used for prototyping small, complex components with tight tolerances.
Actionable Tips for Effective SLA Printing
For successful SLA printing, consider these tips: Ensure proper ventilation when working with resins, as they can emit strong odors. Use appropriate support structures for overhangs and complex geometries to prevent print failures. Post-cure printed parts under UV light to achieve full strength and durability. Thoroughly clean finished parts with isopropyl alcohol to remove any uncured resin.
When to Choose SLA
SLA is an excellent choice for rapid prototyping when: you need extremely high resolution and fine details; smooth surface finish is critical; you require parts with tight tolerances and dimensional accuracy; and you are working with smaller objects. This makes SLA particularly useful for vibe coders working on projects that demand precise and aesthetically pleasing prototypes, pushing the boundaries of their digital creations into the physical realm. Learn more about Stereolithography on our site. Learn more about…
3. CNC Machining
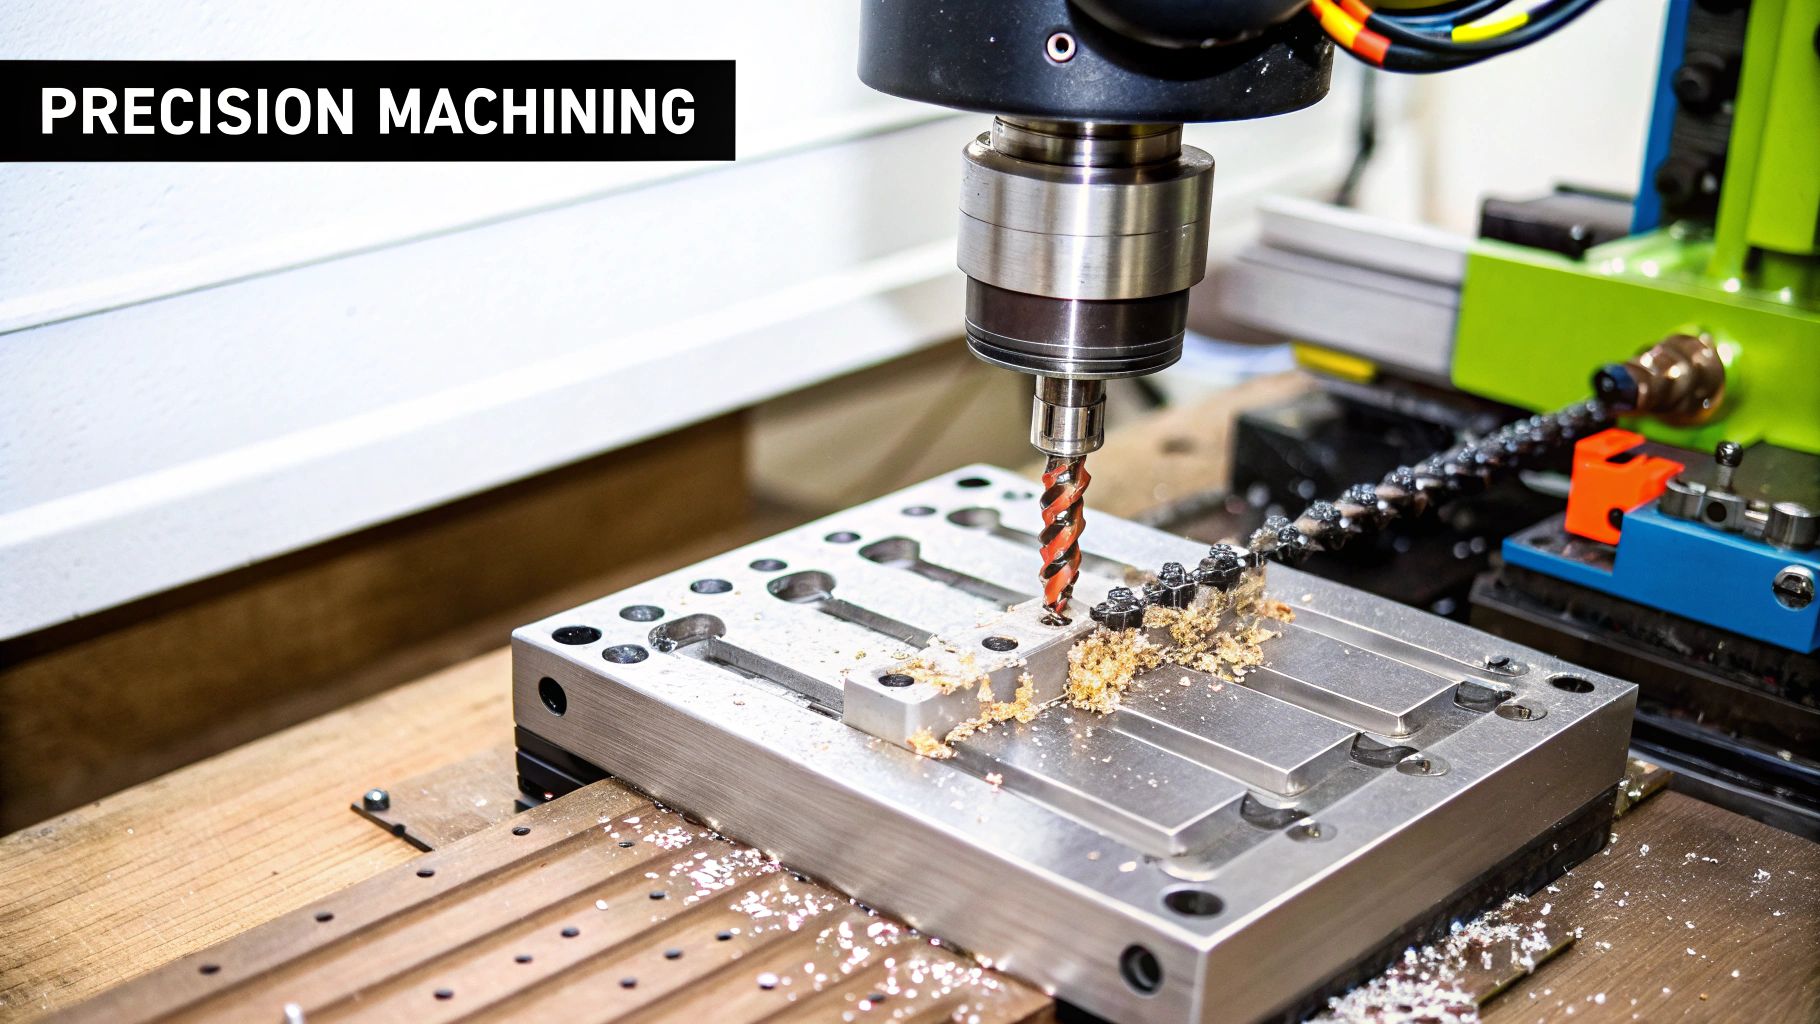
Computer Numerical Control (CNC) machining is a subtractive rapid prototyping technique. It uses computer-controlled cutting tools to remove material from a solid block (stock material), creating a precisely shaped part. Unlike additive methods like 3D printing, CNC machining starts with a solid block and subtracts material to achieve the desired form. This process is ideal for creating functional prototypes from production-grade materials like metals and high-performance plastics.
Examples of CNC Machining in Action
CNC machining's precision and material compatibility make it invaluable across various industries. In aerospace, it's used to prototype complex components requiring tight tolerances, such as engine parts and structural elements. Automotive manufacturers leverage CNC machining for engine part prototypes and other functional components. Medical device companies utilize this technique to create highly accurate prototypes of implants, ensuring precise fit and functionality. Even high-end consumer electronics benefit from CNC machining for prototyping intricate housings and internal components.
Actionable Tips for Effective CNC Machining
Several key considerations can enhance the effectiveness of your CNC machining prototypes. First, design with machining constraints in mind, such as tool access and achievable geometries. Complex designs may require specific tooling or multi-axis machining. Second, consider appropriate cutting speeds and feeds for the chosen material to optimize surface finish and tool life. Third, plan for proper workholding and fixturing to secure the workpiece during machining, ensuring accuracy and preventing damage. Finally, consult with experienced machinists to validate your designs and optimize for manufacturability.
When to Choose CNC Machining
CNC machining shines in rapid prototyping when specific needs arise. Choose CNC machining when you require functional prototypes made from production-grade materials. It is also an ideal choice when tight tolerances and high precision are paramount. Consider CNC machining when complex geometries are necessary, particularly internal features difficult to achieve with additive methods. Finally, select this technique if you need to test the performance of a prototype under real-world conditions, using materials that closely mimic the final product.
4. Laser Cutting
Laser cutting is a precise and efficient rapid prototyping technique that uses a high-powered laser beam to cut through a variety of materials. The focused laser beam melts, burns, or vaporizes the material along a pre-programmed path, creating clean, accurate cuts. This method is particularly well-suited for creating flat prototypes, templates, stencils, and 2D components quickly and accurately. Think of it as a digital scissor capable of cutting intricate designs with incredible speed and precision. The laser's ability to cut through materials like wood, acrylic, fabric, and even metal makes it versatile for a wide range of prototyping applications.
Examples of Laser Cutting in Action
Laser cutting's precision and versatility have led to its widespread adoption across diverse industries. Architects use laser cutting to create intricate architectural scale models and building components, allowing for detailed visualizations and design testing. Electronics manufacturers utilize laser cutting to produce precise electronic enclosures and chassis, ensuring a perfect fit for internal components. In the automotive industry, laser cutting is used to create gaskets and seals with precise tolerances, contributing to improved performance and efficiency. Even artists and designers utilize laser cutting to create intricate jewelry, decorative items, and unique packaging prototypes.
Actionable Tips for Effective Laser Cutting
To achieve high-quality results with laser cutting, consider these practical tips: Optimize cutting paths to minimize processing time and material waste. Careful path planning can significantly improve efficiency. Consider material thickness limitations as different lasers have varying cutting capacities. Choose the appropriate laser and settings for your material thickness. Account for kerf width – the slight gap created by the laser – in tight-fitting assemblies. Precise measurements are essential for accurate component fit. Use appropriate cutting parameters (power, speed, frequency) for each material to achieve optimal cut quality and avoid material damage. Testing and calibration are key for different materials and thicknesses.
When to Choose Laser Cutting
Laser cutting is an excellent choice for rapid prototyping when: you need highly precise and accurate cuts; you're working with flat materials or creating 2D components; you require intricate designs or complex geometries; and you need to prototype quickly and efficiently. Its versatility and speed make it a valuable tool in the rapid prototyping arsenal, especially for applications requiring intricate detail and tight tolerances. Laser cutting empowers designers and engineers to quickly translate digital designs into tangible prototypes, facilitating faster iteration and development cycles. It's a powerful technique for turning ideas into reality.
5. Vacuum Casting
Vacuum casting, also known as urethane casting, is a rapid prototyping technique used to create high-quality, durable plastic parts. It involves creating a silicone mold from a master model and then injecting a liquid polyurethane resin into the mold under vacuum. The vacuum removes air bubbles, ensuring a smooth, flawless finish and precise replication of the master model's details. This process is ideal for producing small to medium batches of parts that closely resemble injection-molded production pieces.
Examples of Vacuum Casting in Action
Vacuum casting finds applications across diverse industries. Automotive manufacturers use it to create detailed interior components for testing ergonomics and fit. Consumer electronics companies leverage this technique to produce prototypes of housings and enclosures, evaluating aesthetics and functionality. In the medical field, vacuum casting is used to fabricate prototypes of devices and implants, allowing for crucial design verification. Appliance manufacturers also employ vacuum casting for market testing of new components before committing to large-scale production.
Actionable Tips for Effective Vacuum Casting
To maximize the effectiveness of vacuum casting, consider these practical tips: Design proper parting lines for the mold to facilitate easy separation and minimize flash. Incorporate draft angles on your master model to ensure effortless part removal from the silicone mold. Adequately plan for degassing time in the vacuum chamber to eliminate trapped air and achieve optimal part quality. Carefully select the appropriate shore hardness of the polyurethane resin to match the desired flexibility and durability of the final product.
When to Choose Vacuum Casting
Vacuum casting is a valuable rapid prototyping technique when you need: small to medium batches of high-quality parts; parts with complex geometries and fine details; a close representation of the final injection-molded product; durable and functional prototypes for testing and evaluation. It offers a bridge between prototyping and production, providing realistic parts for real-world applications. While not covered in this section, you can explore further resources for enhancing your vibe coding projects using vacuum casting.
6. Sheet Metal Fabrication
Sheet metal fabrication is a rapid prototyping technique that transforms flat sheet metal into three-dimensional structures. This process utilizes various methods like cutting, bending, and forming to shape the metal. It's particularly valuable for creating prototypes of products designed for eventual sheet metal production, enabling realistic assessments of form, fit, and function before mass manufacturing. This method brings designs to life in a tangible form, closely mimicking the final product's characteristics and behavior.
Examples of Sheet Metal Fabrication in Action
The applications of sheet metal fabrication in prototyping are extensive. In the HVAC industry, prototypes for ductwork and components are readily fabricated, allowing for airflow and fit testing. Automotive manufacturers leverage this technique for prototyping body panels and brackets, ensuring proper alignment and structural integrity. Electronic enclosures are also commonly prototyped using sheet metal, validating their ability to protect sensitive components. Further applications include appliance housings and even architectural building elements.
Actionable Tips for Effective Sheet Metal Fabrication
Successful sheet metal fabrication requires careful planning and execution. Design with standard bend radii and angles whenever possible. This simplifies the fabrication process and reduces costs. Consider the material's grain direction when planning bends, as this influences the metal's strength and formability. Incorporate proper relief cuts and notches to prevent tearing or deformation during bending. Finally, account for springback, the tendency of metal to return slightly to its original shape after bending, by adjusting bend calculations accordingly. These considerations are crucial for achieving accurate and reliable prototypes.
When to Choose Sheet Metal Fabrication
Sheet metal fabrication is a suitable rapid prototyping technique when your final product will be manufactured from sheet metal. This allows for accurate testing of design features and assembly processes. Choose this method when you need to assess the structural integrity and functional performance of a sheet metal design. It’s also beneficial when working with complex shapes and assemblies that would be challenging to prototype using other methods. This technique provides a realistic representation of the final product's properties and characteristics. Considering these factors will help determine if sheet metal fabrication aligns with your specific prototyping requirements.
7. Selective Laser Sintering (SLS)
Selective Laser Sintering (SLS) is an advanced rapid prototyping technique that employs a high-powered laser to fuse powdered material, layer by layer, into a three-dimensional object. Unlike FDM, which extrudes molten plastic, SLS uses a laser to selectively sinter (melt and fuse) powdered materials like nylon, ceramics, or metals. The unfused powder acts as a natural support structure, eliminating the need for separate supports and allowing for incredibly complex geometries and intricate internal features. This makes SLS ideal for prototyping parts with complex internal channels, lattices, or hollow sections.
Examples of SLS in Action
SLS has found widespread adoption in industries demanding high performance and intricate designs. Aerospace engineers utilize SLS for rapid prototyping lightweight ducting and complex structural components. Automotive manufacturers leverage SLS to create functional prototypes of engine parts and intricate assemblies. In the medical field, SLS enables the creation of customized prosthetics, implants, and surgical guides with unparalleled precision. Consumer product companies also use SLS to prototype products with complex internal features, pushing the boundaries of design and functionality.
Actionable Tips for Effective SLS Printing
Optimizing your SLS prints involves understanding the nuances of the process. Efficiently nesting parts within the build chamber maximizes material usage and reduces cost per part. Consider how powder will be removed from internal cavities after printing, designing features that facilitate cleaning. Proper part orientation influences mechanical properties and surface finish. Accounting for material shrinkage during cooling is crucial for achieving accurate dimensions. These considerations ensure high-quality, functional prototypes.
When to Choose SLS
SLS stands out as a powerful rapid prototyping technique when your project demands exceptional complexity. Choose SLS when you need intricate internal structures, require robust material properties like high strength and temperature resistance, and want to avoid the limitations of support structures. It’s particularly valuable for functional prototypes requiring high accuracy and durability. While SLS often carries a higher cost compared to FDM, its capabilities justify the investment for demanding applications. Learn more about Selective Laser Sintering (SLS) and further resources for incorporating SLS into your vibe coding projects. Though a link may not be readily available at this moment, dedicated research will reveal valuable resources to enhance your prototyping workflow.
8. Injection Molding (Rapid Tooling)
Rapid injection molding represents a powerful technique within the rapid prototyping landscape. It bridges the gap between prototyping and production by employing quickly manufactured molds, typically crafted from aluminum or other soft tooling materials. This process allows for the creation of plastic parts via the traditional injection molding method, but with significantly reduced lead times. The result? Production-representative parts ideal for rigorous testing and validation early in the product development cycle. This method accelerates the feedback loop and reduces the risk of costly revisions later on.
Examples of Rapid Injection Molding in Action
Rapid injection molding finds application across diverse industries. Consumer electronics companies utilize it to produce housings for market testing, gathering crucial user feedback before mass production. In the automotive sector, this technique facilitates the validation of interior components, ensuring they meet stringent quality and performance standards. Medical device manufacturers leverage rapid injection molding to create prototypes requiring biocompatible materials, enabling critical testing for safety and efficacy. Appliance companies also rely on this method for functional testing of components, ensuring optimal performance and durability.
Actionable Tips for Effective Rapid Injection Molding
To maximize the benefits of rapid injection molding, consider these practical tips: Design parts with injection molding principles in mind, incorporating features like draft angles and uniform wall thicknesses. Opt for aluminum tooling to accelerate turnaround times and reduce costs compared to traditional steel molds. Plan for adequate draft angles and radii on part features to facilitate easy ejection from the mold. Optimize gate locations, the points where molten plastic enters the mold cavity, to ensure uniform fill and minimize defects.
When to Choose Rapid Injection Molding
Rapid injection molding proves invaluable when you require production-representative parts early in the development process. It's particularly beneficial when working with complex geometries and tight tolerances, mimicking the final production process. The ability to use a variety of thermoplastic materials expands design possibilities. When needing a larger quantity of prototypes for comprehensive testing and validation, rapid injection molding offers a cost-effective solution. If your project demands high-quality, durable prototypes that closely resemble the final product, this technique is an excellent choice.
9. Paper/Cardboard Prototyping
Paper/cardboard prototyping is a fundamental rapid prototyping technique that involves creating tangible models using readily available materials like paper, cardboard, glue, scissors, and markers. This low-fidelity approach is incredibly effective for quickly visualizing and testing ideas in the early stages of design. It's a hands-on method that encourages experimentation and iteration without the constraints of software or specialized equipment. Think of it as a sketch that comes to life, allowing you to explore form, function, and user interaction in a tangible way.
Examples of Paper Prototyping in Action
The versatility of paper prototyping makes it applicable across various fields. UX/UI designers frequently use paper prototypes to simulate app interfaces and user flows, allowing for rapid testing and feedback. Product designers employ this method to explore different form factors and ergonomic considerations, quickly iterating on physical designs. Packaging designers can create mockups of boxes and inserts to visualize the unboxing experience. Even architects use paper and cardboard models to represent buildings and spatial layouts, communicating design concepts effectively.
Actionable Tips for Effective Paper Prototyping
To maximize the effectiveness of paper prototyping, consider these practical tips: Use different weights and textures of paper to represent various materials and components. For instance, thicker cardstock can simulate rigid plastic, while thinner paper can represent flexible fabrics. Score fold lines with a blunt tool to achieve clean, accurate bends and create professional-looking models. Design modular components that can be easily rearranged and reconfigured, facilitating rapid iteration and testing of different design variations. Employ templates and patterns to ensure consistency in size and shape, particularly when creating multiple iterations of a design.
When to Choose Paper Prototyping
Paper prototyping shines in the early stages of the design process when speed and flexibility are paramount. It's ideal when you need to quickly and affordably visualize concepts, test basic functionality, and gather user feedback without investing significant time and resources in more complex prototyping methods. This technique is particularly valuable for:
- Early-stage concept validation: Quickly explore and compare multiple design ideas.
- User interface testing: Simulate user interactions and identify usability issues.
- Form factor exploration: Evaluate the physical size and shape of a product.
- User experience journey mapping: Visualize the steps a user takes to complete a task.
Paper prototyping is a powerful tool in any vibe coder's arsenal, fostering creativity, collaboration, and rapid iteration. It's a low-barrier-to-entry method that empowers anyone to bring their ideas to life, making it a perfect starting point for rapid prototyping. Learn more about paper prototyping and how it can enhance your design process by checking out resources like those available from IDEO, Google Ventures, and the Stanford d.school.
10. Digital Prototyping/CAD Simulation
Digital prototyping uses computer-aided design (CAD) software and simulation tools to create virtual prototypes. These virtual models can be tested and validated without physical manufacturing. This allows for rapid iteration and comprehensive analysis of design concepts early in the development process, saving both time and resources. Imagine testing a bridge's structural integrity or an airplane's aerodynamics without building a physical model – that's the power of digital prototyping. It allows engineers and designers to identify and address potential flaws before they become costly real-world problems.
Examples of Digital Prototyping in Action
The applications of digital prototyping are vast and varied. In the automotive industry, crash testing and aerodynamics simulations are routinely performed digitally, optimizing safety and fuel efficiency. Aerospace engineers leverage digital prototyping for structural analysis and fluid dynamics, ensuring aircraft performance and reliability. Consumer electronics companies use thermal management simulations to prevent overheating in devices. Medical device development benefits from biocompatibility modeling, and architecture and construction projects utilize digital twins for detailed planning and visualization.
Actionable Tips for Effective Digital Prototyping
To maximize the benefits of digital prototyping, consider these practical tips. First, always validate your simulation results with physical testing whenever possible. This ensures your virtual models accurately reflect real-world behavior. Second, when using Finite Element Analysis (FEA), pay close attention to mesh density. A finer mesh provides greater accuracy but increases computational time. Third, leverage the power of visualization to collaborate effectively with stakeholders. Clear visuals can facilitate communication and understanding. Finally, maintain organized file structures and utilize version control to manage different iterations of your digital prototype effectively.
When to Choose Digital Prototyping
Digital prototyping is an invaluable tool in various situations. It’s especially powerful when: iterative design changes are anticipated; comprehensive testing is required; physical prototyping is expensive or time-consuming; and when collaboration across different teams is essential. Learn more about Digital Prototyping/CAD Simulation and other valuable resources for enhancing your vibe coding projects on our site. Learn more about…
Rapid Prototyping Techniques Comparison
| Technology | Implementation Complexity 🔄 | Resource Requirements ⚡ | Expected Outcomes 📊 | Ideal Use Cases 💡 | Key Advantages ⭐ |
|---|---|---|---|---|---|
| 3D Printing (FDM) | Moderate 🔄🔄 | Low ⚡⚡ | Functional prototypes with good dimensional accuracy | Product design, medical devices, automotive prototyping | Low cost, wide material options, desktop-friendly |
| Stereolithography (SLA) | High 🔄🔄🔄 | Moderate ⚡⚡ | High-detail parts with smooth surface finish | Jewelry, dental models, miniature figures | Exceptional surface quality, high precision |
| CNC Machining | High 🔄🔄🔄 | High ⚡ | Strong, functional prototypes with production-grade materials | Aerospace, automotive, medical implants | High accuracy, production material compatibility |
| Laser Cutting | Low 🔄 | Low ⚡⚡ | Precise 2D parts with clean edges | Architectural models, enclosures, gaskets | Extremely fast for 2D, minimal finishing needed |
| Vacuum Casting | Moderate 🔄🔄 | Moderate ⚡ | Production-like plastic parts in low volumes | Consumer electronics, automotive interior components | Good surface finish, faster than injection molding |
| Sheet Metal Fabrication | High 🔄🔄🔄 | Moderate to High ⚡ | Durable, production-representative metal prototypes | Automotive panels, electronic enclosures, ductwork | Uses real production materials, strong prototypes |
| Selective Laser Sintering (SLS) | High 🔄🔄🔄 | High ⚡ | Complex, strong, functional parts without support structures | Aerospace, medical prosthetics, automotive | No supports needed, excellent for complex geometry |
| Injection Molding (Rapid Tooling) | High 🔄🔄🔄 | High ⚡ | Production-grade plastic parts with fast cycle times | Market testing, medical devices, appliance components | True production materials and process |
| Paper/Cardboard Prototyping | Very Low 🔄 | Very Low ⚡⚡⚡ | Quick, low-fidelity physical models | Early concept validation, UX design, packaging | Extremely low cost, fast iteration |
| Digital Prototyping/CAD Simulation | Moderate 🔄🔄 | Moderate ⚡ | Virtual prototypes with testing and visualization | Automotive crash testing, aerospace analysis, medical | Rapid iteration, no material cost, comprehensive |
Ready to Prototype Your Vibe?
This exploration of rapid prototyping techniques has provided a comprehensive overview of methods available to transform your digital visions into reality. From the tangible forms created through 3D printing (FDM and SLA), CNC machining, laser cutting, vacuum casting, and sheet metal fabrication, to the digital precision of CAD simulation and the surprising versatility of paper prototyping, each technique offers unique advantages. Selecting the right rapid prototyping technique is key to effectively iterating and refining your vibe coding projects.
Key Takeaways for Vibe Coders
Remember, the core purpose of rapid prototyping is to fail fast and learn faster. By embracing iterative design, you gain invaluable insights early in the development process, saving time and resources in the long run. Here are some key takeaways to consider:
- Material Matters: The chosen material significantly impacts the prototype's functionality and aesthetics. Consider the desired fidelity and the properties of materials like plastics, metals, or even paper when selecting a technique.
- Cost-Benefit Analysis: Balance the cost of prototyping against the value of the information gained. Paper prototyping can be highly effective for early-stage UI/UX testing, while 3D printing might be essential for complex mechanical designs.
- Iteration is Key: Rapid prototyping isn't about creating a perfect replica on the first try. It's about quickly creating tangible representations to test, refine, and iterate upon.
Taking Your Vibe to the Next Level
Mastering rapid prototyping techniques is essential for vibe coders who want to push the boundaries of interactive experiences. These techniques empower you to:
- Validate Design Decisions: Transform abstract ideas into concrete forms to assess feasibility and user interaction. This validation process minimizes the risk of costly revisions later in development.
- Gather User Feedback: Tangible prototypes allow for direct user interaction and feedback. Observing how users interact with a physical object or digital simulation provides invaluable insights into usability and design effectiveness.
- Accelerate Development: By identifying and addressing design flaws early, rapid prototyping streamlines the overall development lifecycle. This accelerates the journey from concept to finished product.
Empowering Your Vibe Coding Journey
Whether you're a seasoned software developer, a digital artist exploring new mediums, or an aspiring vibe coder just starting your journey, rapid prototyping techniques provide the tools to bring your vision to life. They bridge the gap between the digital and physical worlds, allowing you to experiment, iterate, and ultimately, create more impactful and resonant experiences. Remember, choosing the right technique, from the rapid tooling of injection molding to the accessibility of paper and cardboard prototyping, depends on the specific demands of your project.
From Concept to Creation: Your Next Steps
Now is the time to put these rapid prototyping techniques into action. Here's how to get started:
- Identify Your Project Needs: Define the specific requirements of your project and determine which technique aligns best with your goals and resources.
- Explore and Experiment: Don’t be afraid to try different techniques. Experimenting with various methods will help you discover the most effective approach for your specific workflow.
- Seek Resources and Community: Connect with other vibe coders and explore online resources. Sharing knowledge and experiences is crucial for continuous learning and growth.
Check out Vibecoding VIP for an extensive directory of tools and resources to help you on your journey! By embracing the power of rapid prototyping, you can unlock the full potential of your vibe coding endeavors and create truly immersive and engaging experiences.